More people should create online courses.
Everyone has value to offer. Everyone has something they can teach others. And these days it’s never been easier to not only become an authority on your chosen topic, but to have an audience waiting and ready no matter how obscure your topic.
But how do you get started creating an online course?
How to Create an Online Course
I recently released my own online video course. It took a lot of sweat and time. But I documented my process along the way so that I could make it easier for others who want to get started out.
If you want to create your own online course but have no idea where to start, I’ve got you covered.
Let’s dive in and go through this step-by-step.
Step 1: How to choose a topic for your online course
Everybody is an expert on something.
We’re our own worse enemies when it comes to neutrally judging our abilities.
Often, because something is intuitive to us, we find it difficult to see the value in it. Sometimes you have to get really niche and think about everything you’ve done over the course of your lifetime.
There will be something you can do that others want to do.
There will be something you had to learn. So now that you can do it, why not teach it?
For my first course, I chose a topic that is super niche.
Refining down is a good way to find the topics you have a good chance of teaching better than anybody else.
If you start too big, you’ll have a lot of competition.
I’m not saying there’s anything wrong with competition, but it’s a whole different mindset starting off when you’re teaching something big versus a topic that’s small.
Examples of big topics:
- How to code
- How to write a novel
- How to lose fat
Examples of more niche/smaller topics:
- How to code iOS game applications
- How to write a science-fiction fantasy short story
- How to hit 8% body fat by following the paleo diet
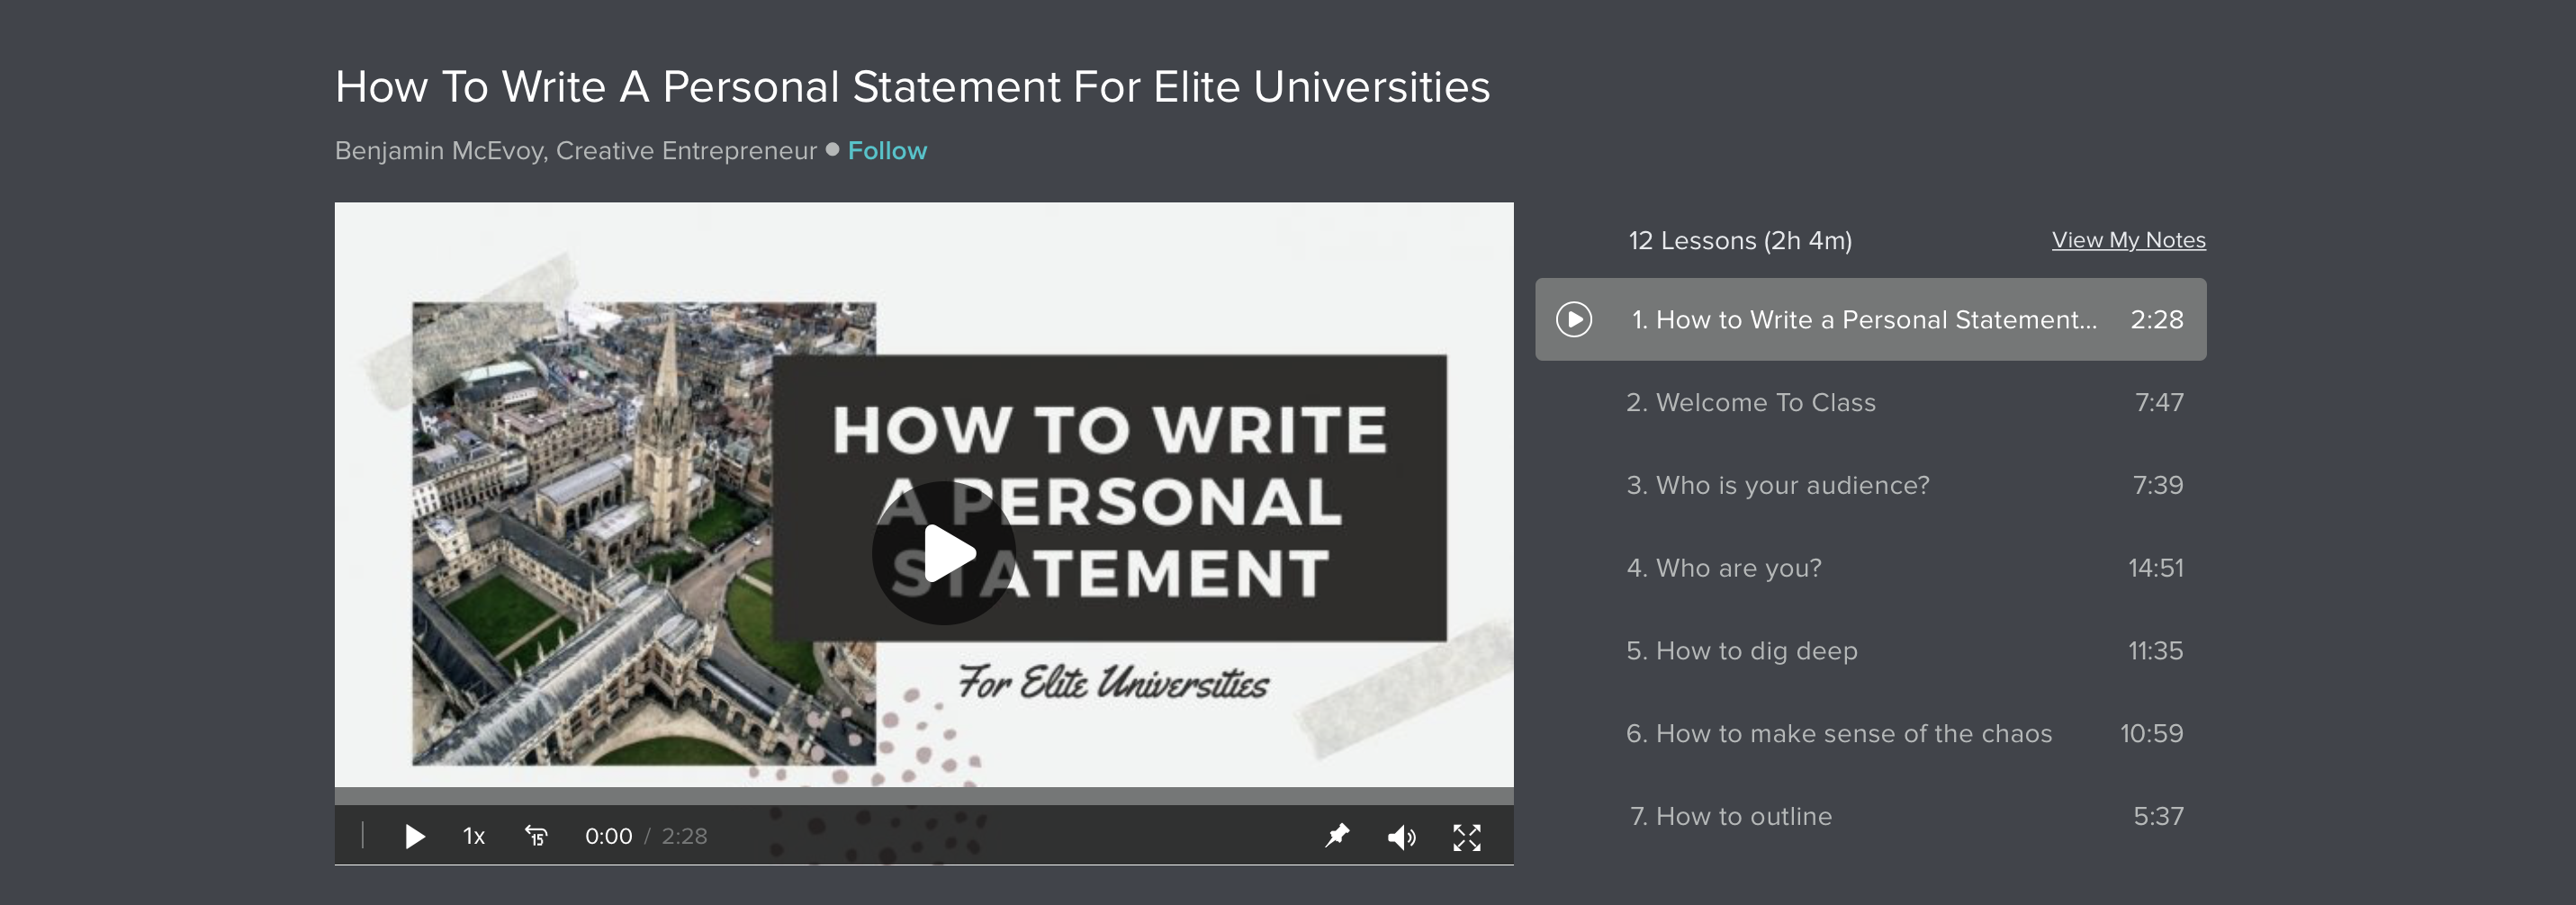
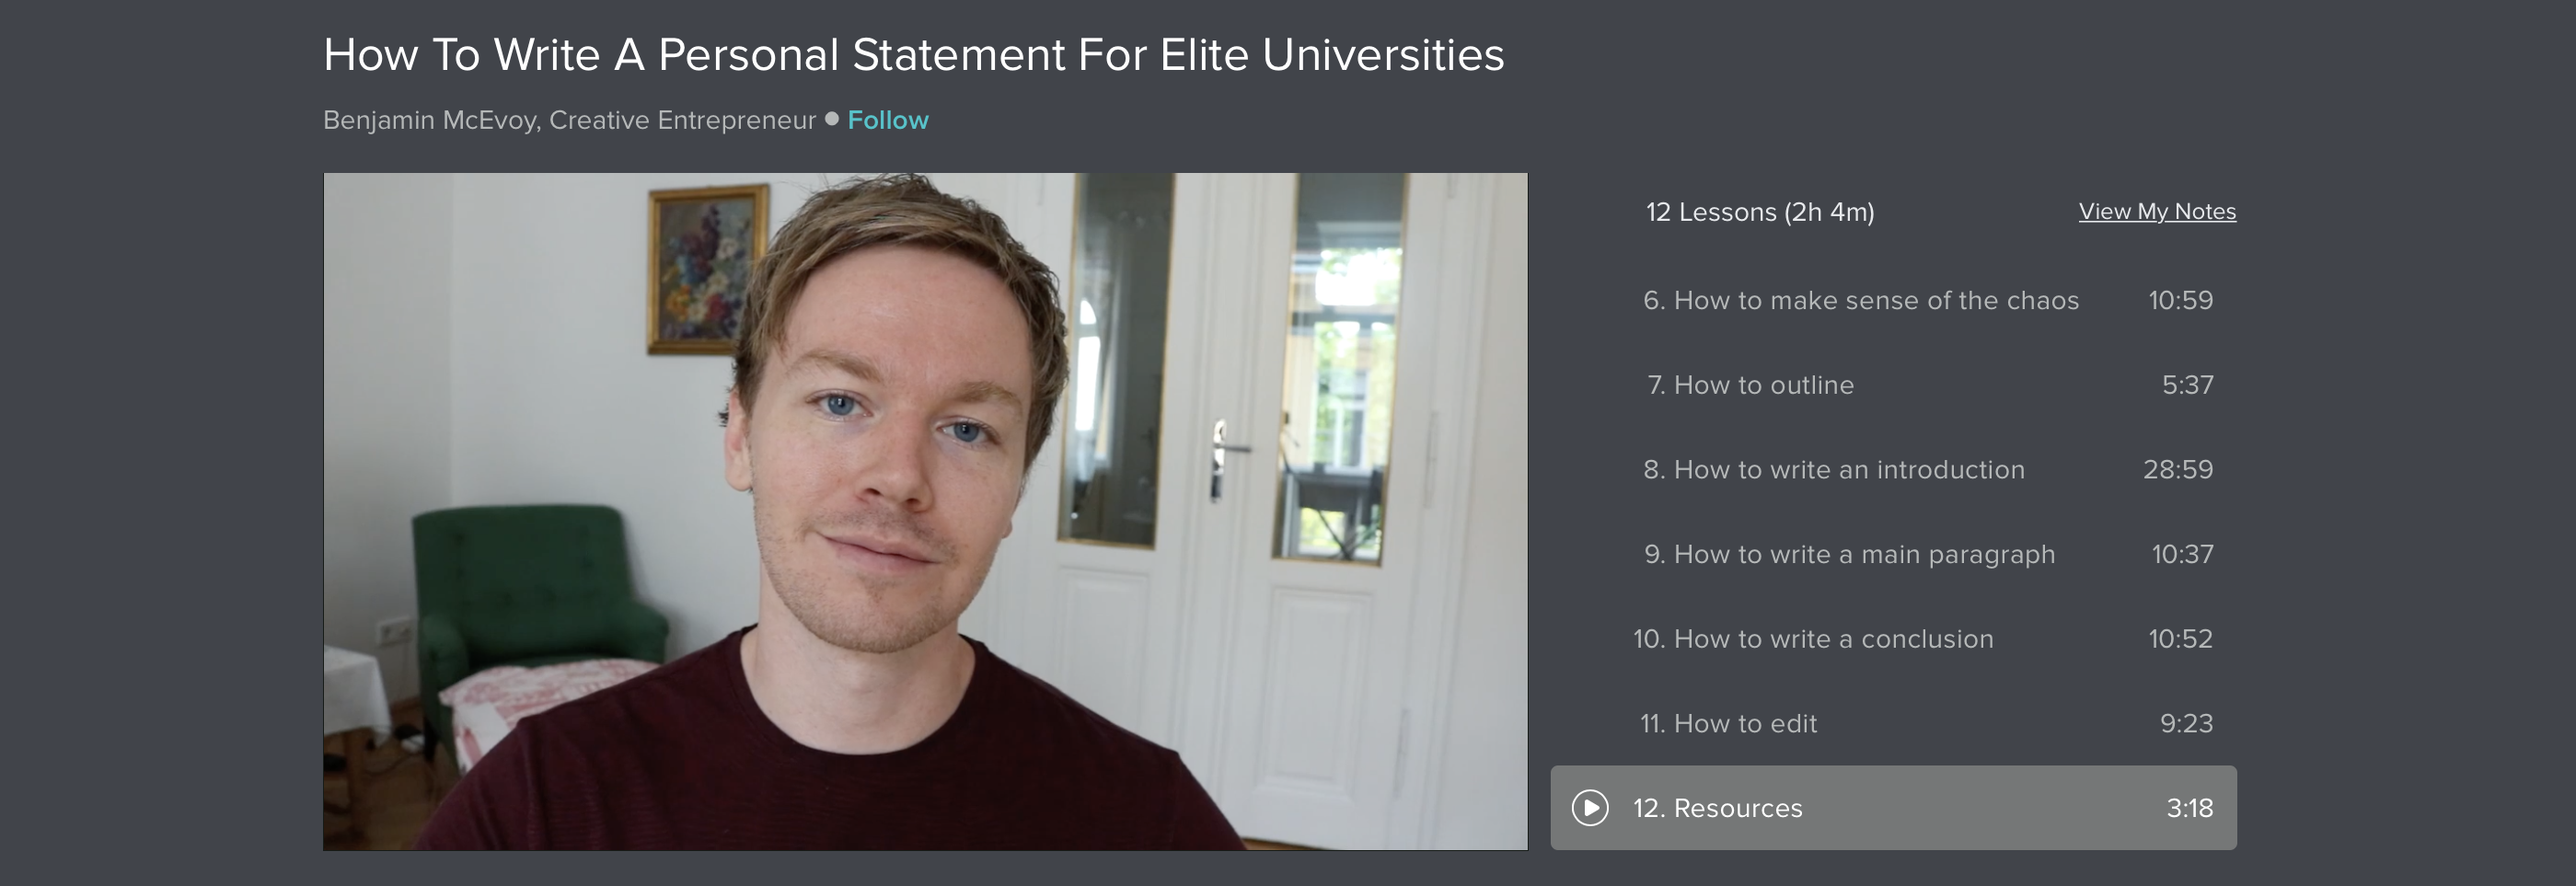
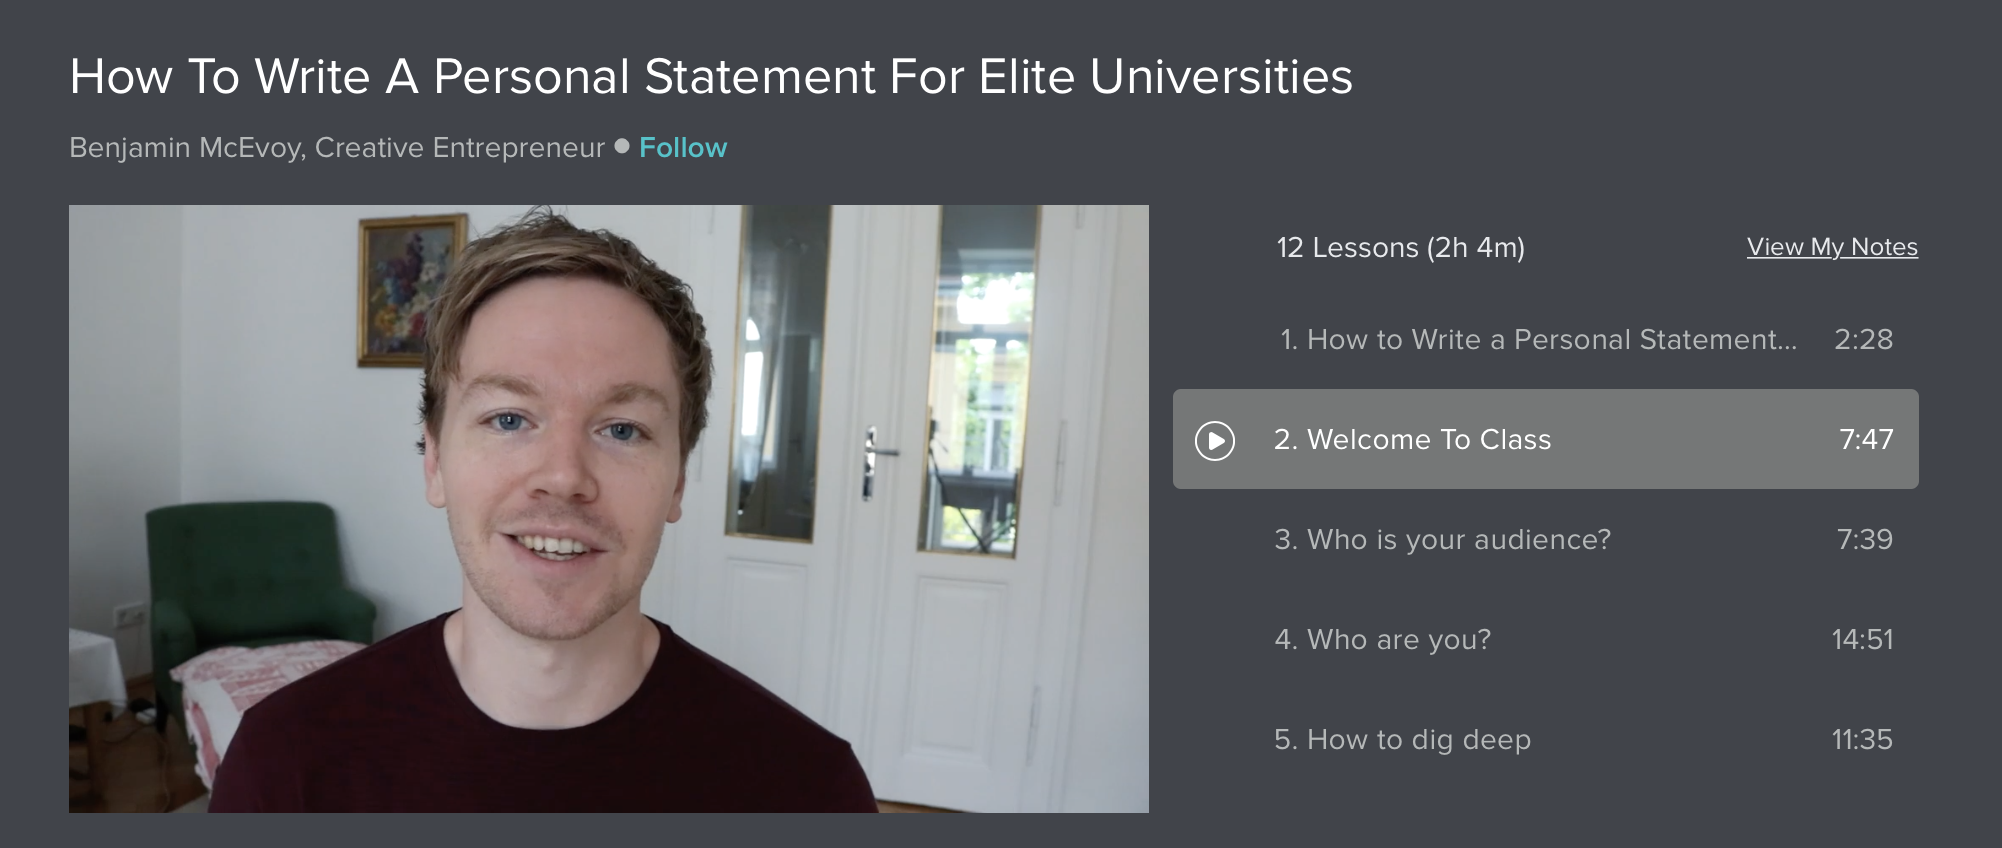
My first course is called How to Write a Personal Statement for Elite Universities, which is ultra specific.
“How to write a Personal Statement” is already quite niche enough (even though there are certainly tons of students who need help with this). But refining it with that extra “Elite Universities” tag makes it more niche. To be honest, it doesn’t matter if you want to go to an elite university or not, the advice still applies – but it does make my audience more specific.
When you’re thinking of a topic to teach, think in these terms:
“How to” + skill you can teach
“How to” because this a great way to turn up in the search engines.
There’s a little SEO tip for you.
Think about any time you’ve wanted to know something. Chances are you’ve gone to Google or some other privacy-destroying search engine and typed in “how to… blah blah blah”. Even look at the title of this article: “How to Create an Online Course”.
Think in long sentences
This is another little SEO tip.
Longer sentences are known as long-tail keywords.
“Shoes” is a short-tail keyword. It’s general, not specific, and there will be tons of competition.
More niche = “Nike shoes”. Even more niche = “Nike women’s running shoes”. And even more niche = “Nike women’s running shoes discounts”.
A benefit of going more niche for your first online course is that it’s way more manageable.
Imagine doing a course entitled “How to Code”.
What the heck would that even look like?
I can envision hundreds of modules and a lot of work both on your end as the teacher and the end of the students. It’s overwhelming. Probably too overwhelming if this is your first online course.
How to figure out what to make your online course about:
Think back to periods of growth in your life.
Think about your teenage years. Think about your university time (if you went). Think about your first career. Think about your hobbies. Think about what you did this last week.
You’re taking an inventory of your life and trying to find PAIN POINTS.
Ask yourself:
What problem did I have that I’ve now overcome?
Think in these three spheres if you need a jump-start: health, wealth, relationships.
For me, my problem was I wanted to get into Oxford University and I needed to write a personal statement that would get me an invite to interview.
Back when I was writing my personal statement, there weren’t any courses or resources that I found credible.
Back then, having a course like mine that takes you through the whole process from brainstorming to actually knowing what to put in your intro, main paragraphs, and conclusion, and even how to edit would have been immensely valuable and would have solved my problem.
What problems have you had with health?
For me, I went from being super overweight to super lean in around 3 months.
My problem?
I was overweight.
Other people have this problem too. But now I don’t have this problem. I found the solution.
Could I teach that solution to other people?
Possibly.
Could you?
What problems have you had with money?
For me, fresh out of university and disappointed in traditional office work I wanted a job that I could do that was location independent.
I wanted a job that would give me money for my travels while I travelled.
That’s a problem.
My solution?
I learnt how to freelance. I learnt how to copywrite and sell my services to businesses. I learnt how to teach online. I basically learnt how to be a one-man-band and get enough money from my apartment and coffee shops.
Do other people want to do this?
Yep.
Could I teach them how?
Maybe.
Could you?
What problems have you had with relationships?
For me, I used to be shy and suffer from social anxiety.
But I discovered a bunch of things I could do that would make meeting new people a lot easier.
Now I’m super comfortable meeting new people and I have friends all over the world.
Could I teach others how to feel more comfortable in social situations?
Possibly.
Could you?
So the formula is:
“How to” + “Problem you had that you solved” + “Extra specific bit to make it more niche”
Now we’re going to talk about platforms and which platform you might want to choose for your online course.
After that, we’ll get back into the nitty gritty of actually constructing your online course.
Step 2: How to choose a platform for your online course
Let’s consider three of the main online course platforms:
The benefits of using Skillshare for your online course
You can earn money from membership and referrals with Skillshare.
So if someone signs up to your course, you get a cut.
If you recommend the course, or any of the other courses or just the platform in general, you also get a cut.
The student base is, as of writing, around 3 million.
That’s a respectable amount of eyeballs.
If you’re mostly interested in getting your name out there/just having people watch you, Skillshare is great for that because they offer very generous free trials (several months). So the barrier for people signing up is way lower than if they’d have to think about paying.
Conversely, you might not get the audience you want.
If there’s a price on the course/no free trial, less people will take it but the ones who do will have considered it more.
I’ve taken courses purely based on the fact I’ve got a free trial instead of actually caring about the instructor’s message. I’ve also paid hundreds of dollars for courses purely because I want that exact information from that exact person.
It all comes down to what you want to achieve with your course.
Get a feel for Skillshare by following this link. You’ll get a free trial so you can take a look around.
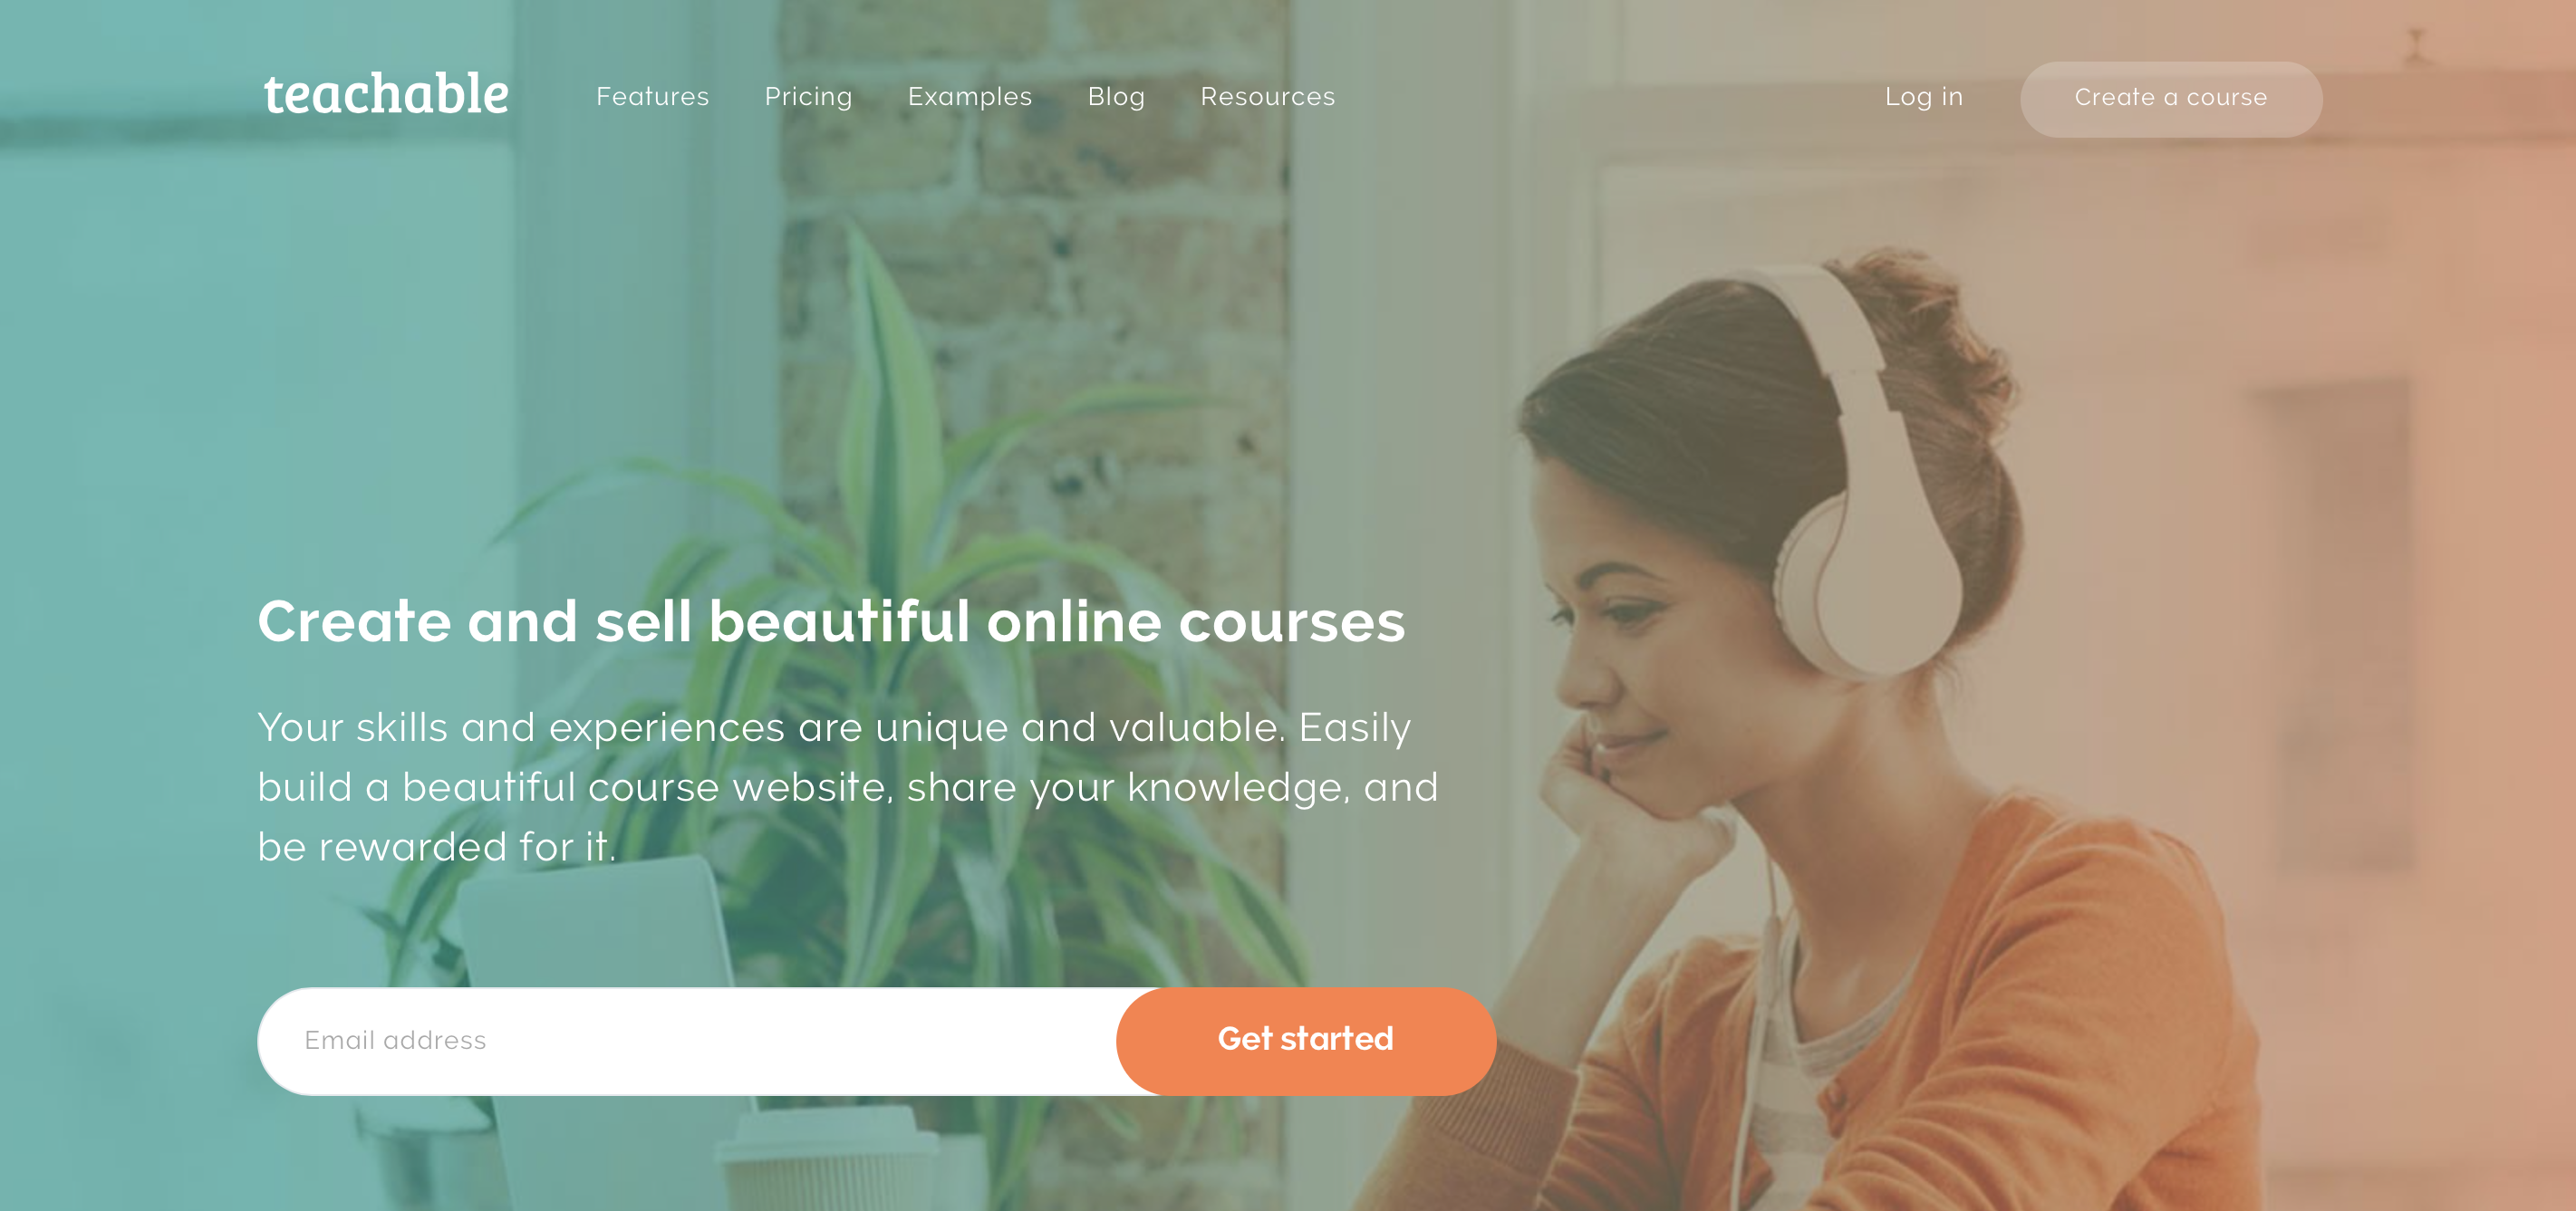
The benefits of using Teachable for your online course
This is way closer to having your own platform/course rather than being one course in a community of thousands (like Skillshare or Udemy).
If you already have your own audience or you’re not looking for additional exposure, this platform might be the better option.
It’s also better for longer courses.
The majority of the Teachable courses I’ve seen have been several hours in length (barring exceptions of course), whereas the majority of Skillshare courses are much shorter (usually under the hour mark).
The commissions are generous with Teachable too, the best in the industry according to them – around 30% commission for referring someone to Teachable and 90-day cookies (so it doesn’t matter if someone takes 3 months to make a decision, if it’s based on your recommendation you get paid).
But I think that affiliate thing is for people who sign up as creators.
You can also affiliate specific courses but you’ll have to talk to the creator about that.
On top of that, you also can set the price way higher on Teachable and get paid a lot more.
It’s pretty normal to see courses on Teachable that cost several hundred, even thousands, of dollars.
Check out Teachable here and see if it fits for you and your online course.
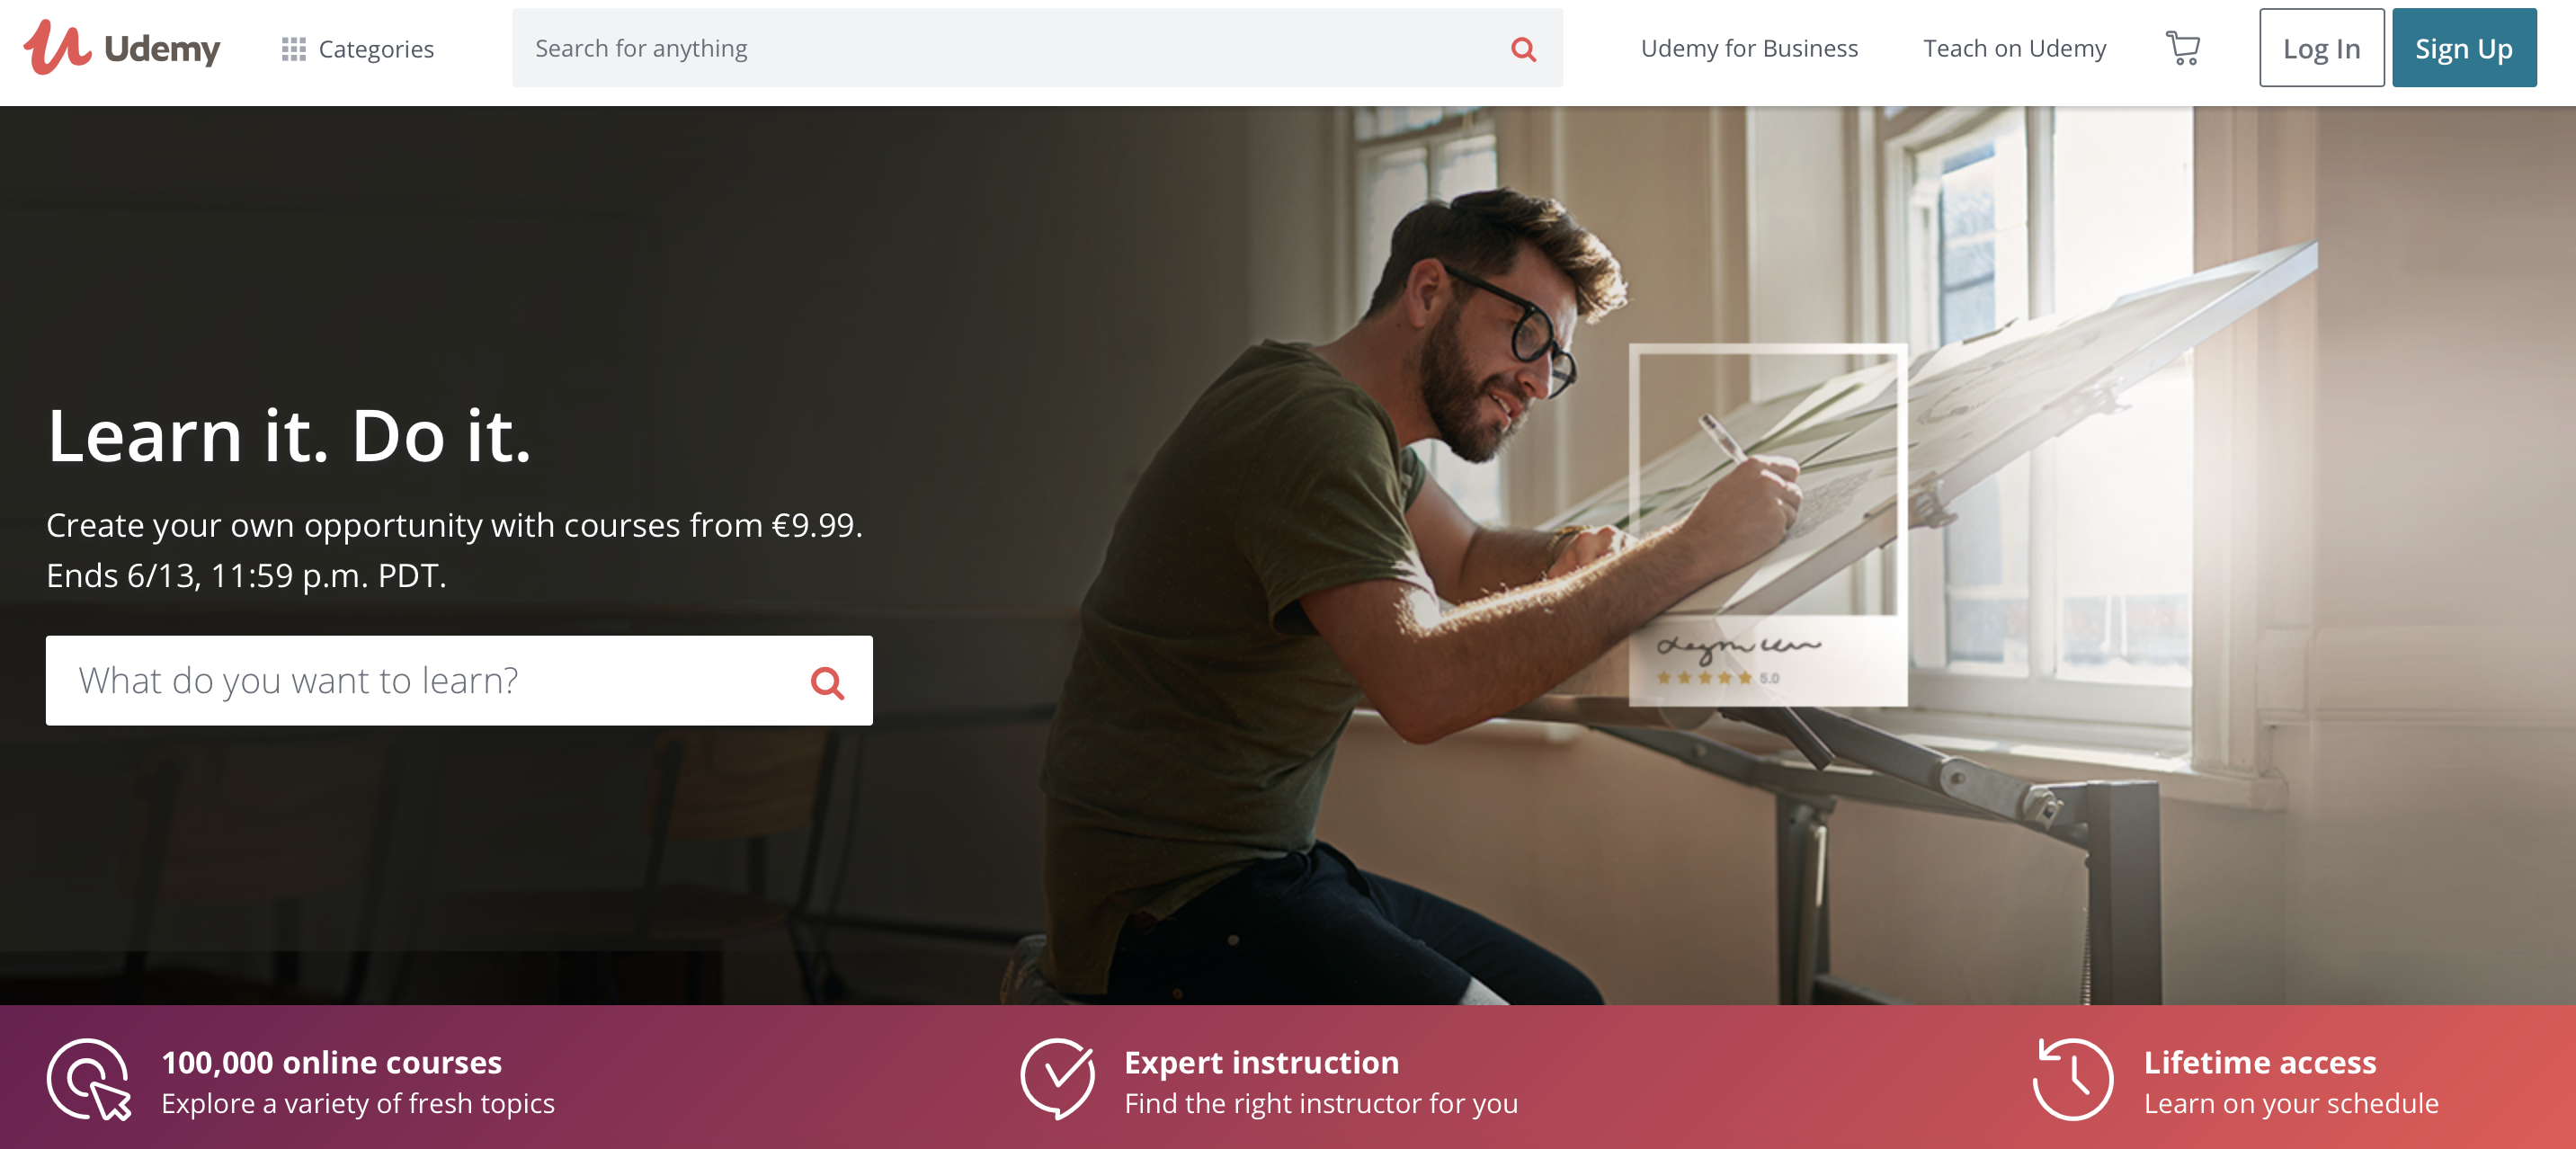
The benefits of using Udemy for your online course
I’ve taken some fantastic courses on Udemy (the programming ones are superb).
Udemy is massive and, as such, along with the fact that it’s so easy to create a course, there’s a lot of noise, which probably will be hard to rise above.
I signed up to their affiliate program, but to be honest it’s such a pain in the ass and not easy to use that I kind of dismissed Udemy as a viable path for creating a course.
But worth checking out nonetheless and courses there can be super cheap, free, or several hundreds of dollars but are typically sold cheap as the site has frequent discounts.
Check out Udemy here and see if the site fits with you.
Step 3: How to choose a model for your online course
I’ve taken A LOT of online courses.
So I have a lot of different ideas about how to do a course.
But you have to be selective when it comes to choosing how you’re going to do a course.
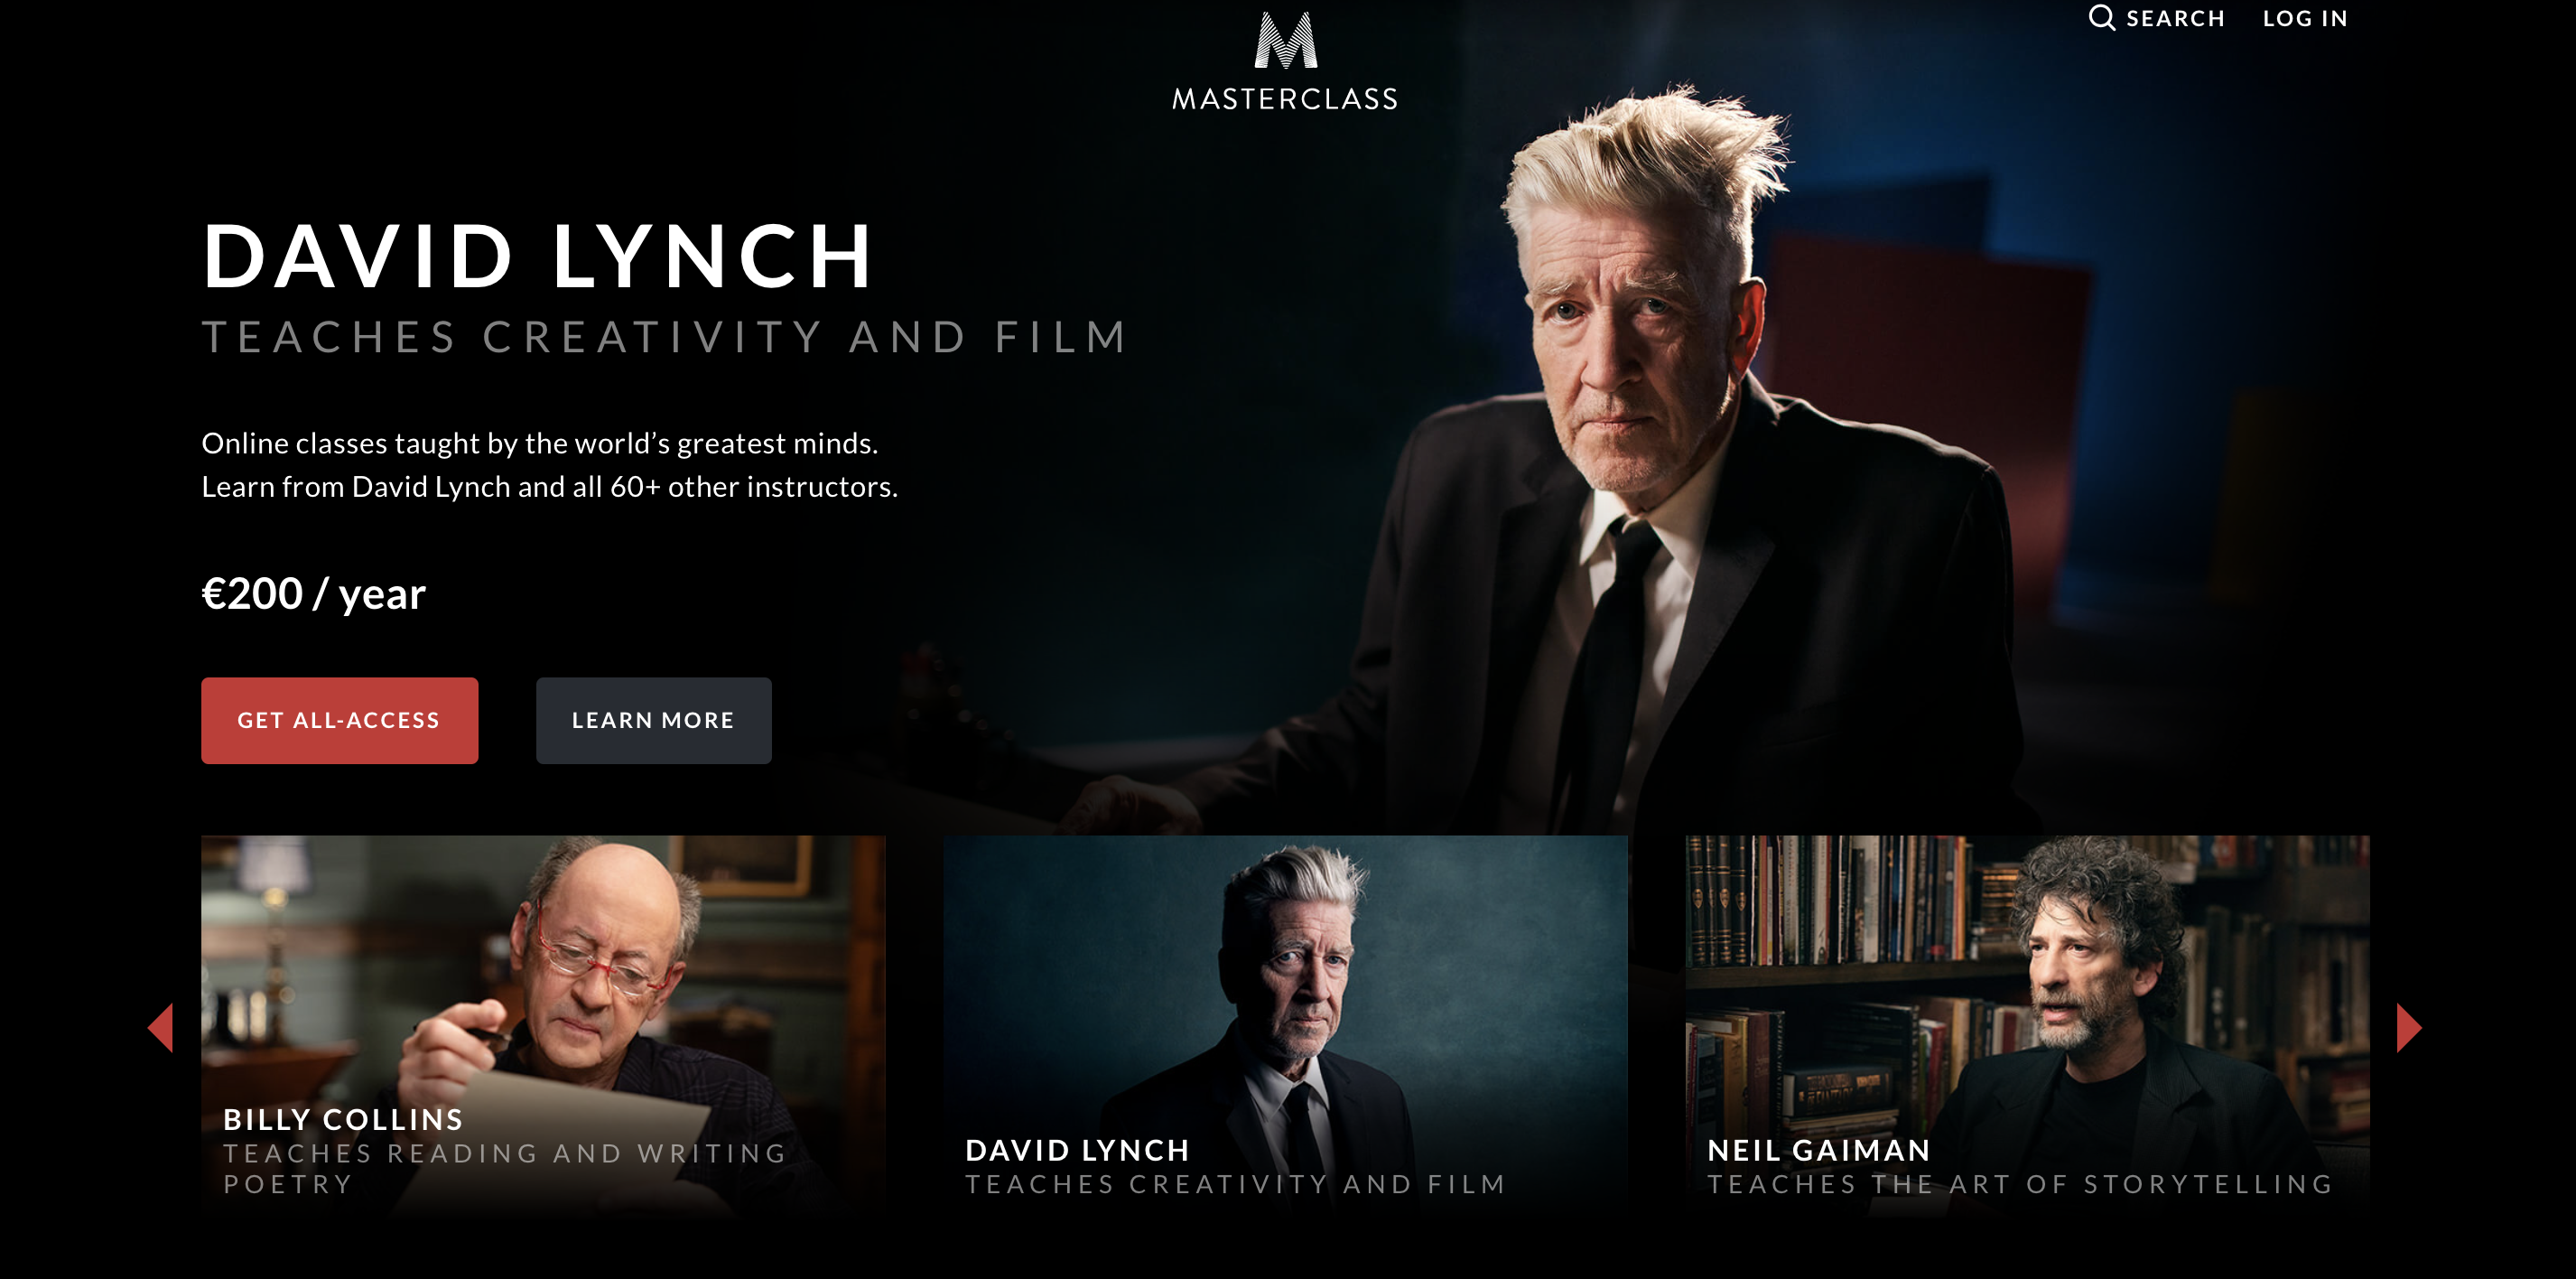
I love MasterClass, but there’s no way I’m suited to emulating them.
Firstly, I don’t have the acclaim of the instructors.
But putting that aside, the production value is currently beyond my means and would be inappropriate to my purposes.
My course is smaller in scale, seeking to deliver value on one topic rather than the breadth of a whole career.
Likewise, I love The Great Courses, but I’m not a lecturer and that style, though it could be appropriate to my topic, isn’t as appropriate to my character.
I also love CreativeLive but that also seems a blend of what makes MasterClass and the Great Courses so good – again not a style I’m going after.
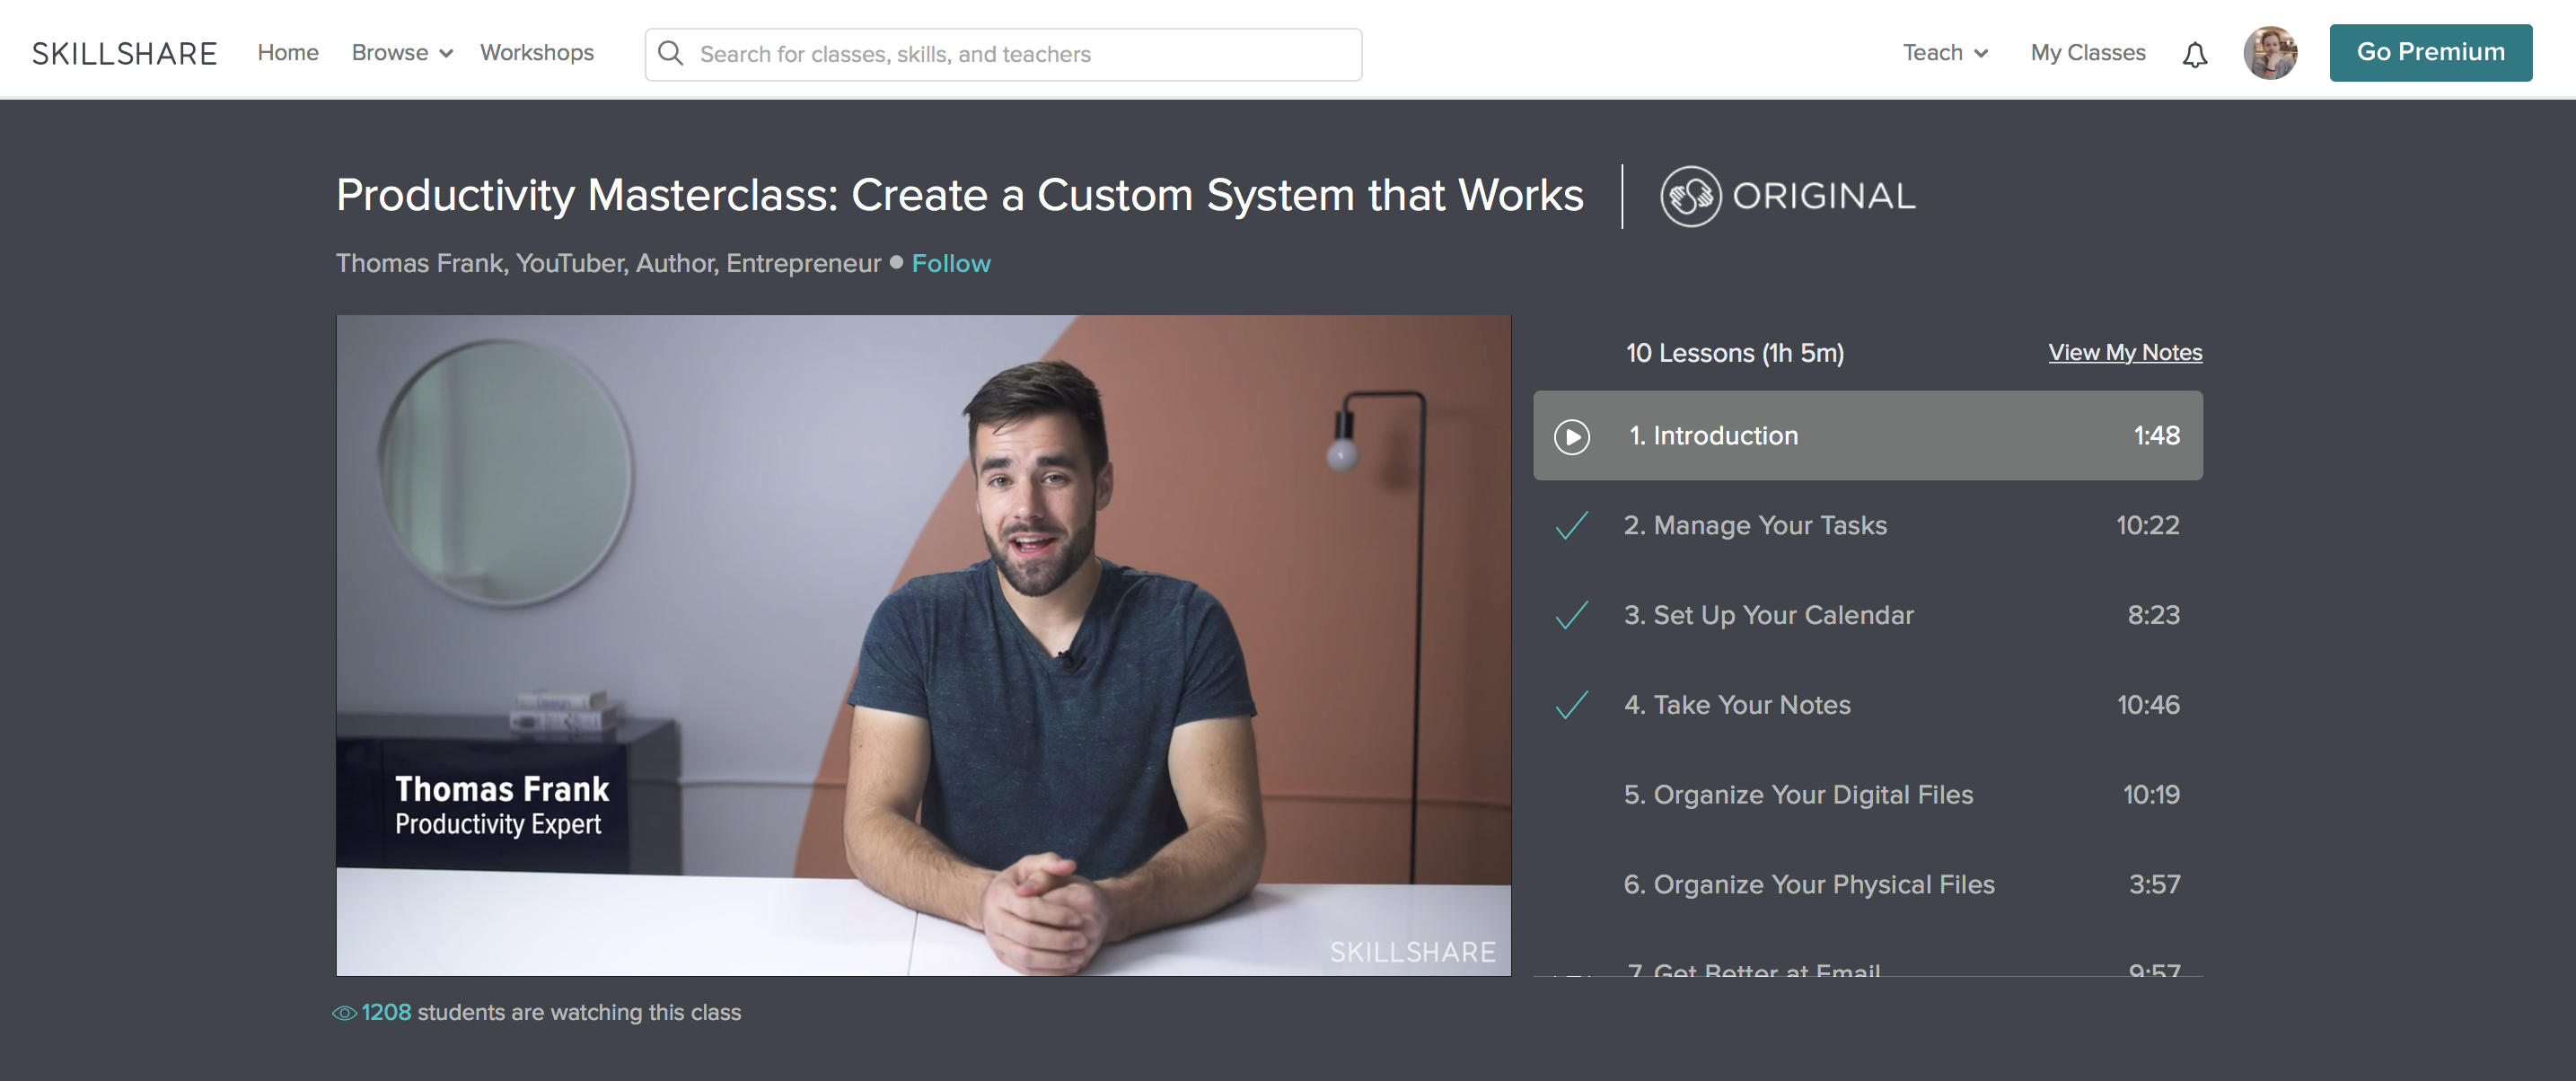
Now let’s take a look at Thomas Frank, who has a great course with Skillshare.
I guess we have overlapping niches because we both talk about education and related things – though his audience is astronomical compared to mine.
Doesn’t matter. I can still learn a lot from him as we’ll have a kind of similar audience, I think our personalities are rather similar, and the course length will be roughly the same.
Plus he going through Skillshare – so if I want to know how to make a course suitable to that platform, I’m going to learn from him.
Perfect model!
Part of your research if you’ve never done an online course before should involve in looking at how other people do it.
You have to keep your expectations at an appropriate level.
And you won’t be competing with these people.
Often you’ll be looking at people who did their first online thing many years ago.
Take an example from YouTube – how long has Zoella been going?
If someone wanted to get into the makeup tutorial sphere, looking at Zoella’s videos today could dishearten them.
But if you look at her videos from over a decade ago (yes, she’s been doing this a long time) – that’s a more suitable thing to look at when it comes to expectations.
All you need to do is take some inspiration from how people you like are doing it.
Figure out how you can do some of the things they’re doing that make them good, but don’t worry about doing everything (or even half of everything) and just try to be the best YOU can do in your current state.
A mindset you should adopt for going into your first online course…
This mindset is going to give you a contradiction. But that’s life. Full of contradictions, super complicated. But we’re all adults here and we can keep seemingly opposing philosophies in our heads at the same time.
Here’s the mindset:
You’re learning right now.
You’re an apprentice.
You’ve got to pay your dues, do the best you can do, but don’t stress if it comes across as amateur because, face it, you are an amateur.
But at the same time, you are a PRO.
Be pro from the get-go.
Be willing to accept work that’s “good enough”, but also push yourself to deliver work that’s as good as you can possibly make it.
I don’t care if that sounds hypocritical, it’s the mindset that works for me.
It’s the mindset that results in me putting out work I’m very proud of.
But it’s also the mindset that keeps my stress levels down and stops me from getting super hung-up over little mistakes that are perfectly reasonable for a beginner to make.
I filmed my first course three separate times.
The first time, I had a little clip-on microphone (which Skillshare were kind enough to send me).
I used the Quicktime software and webcam on my laptop to film.
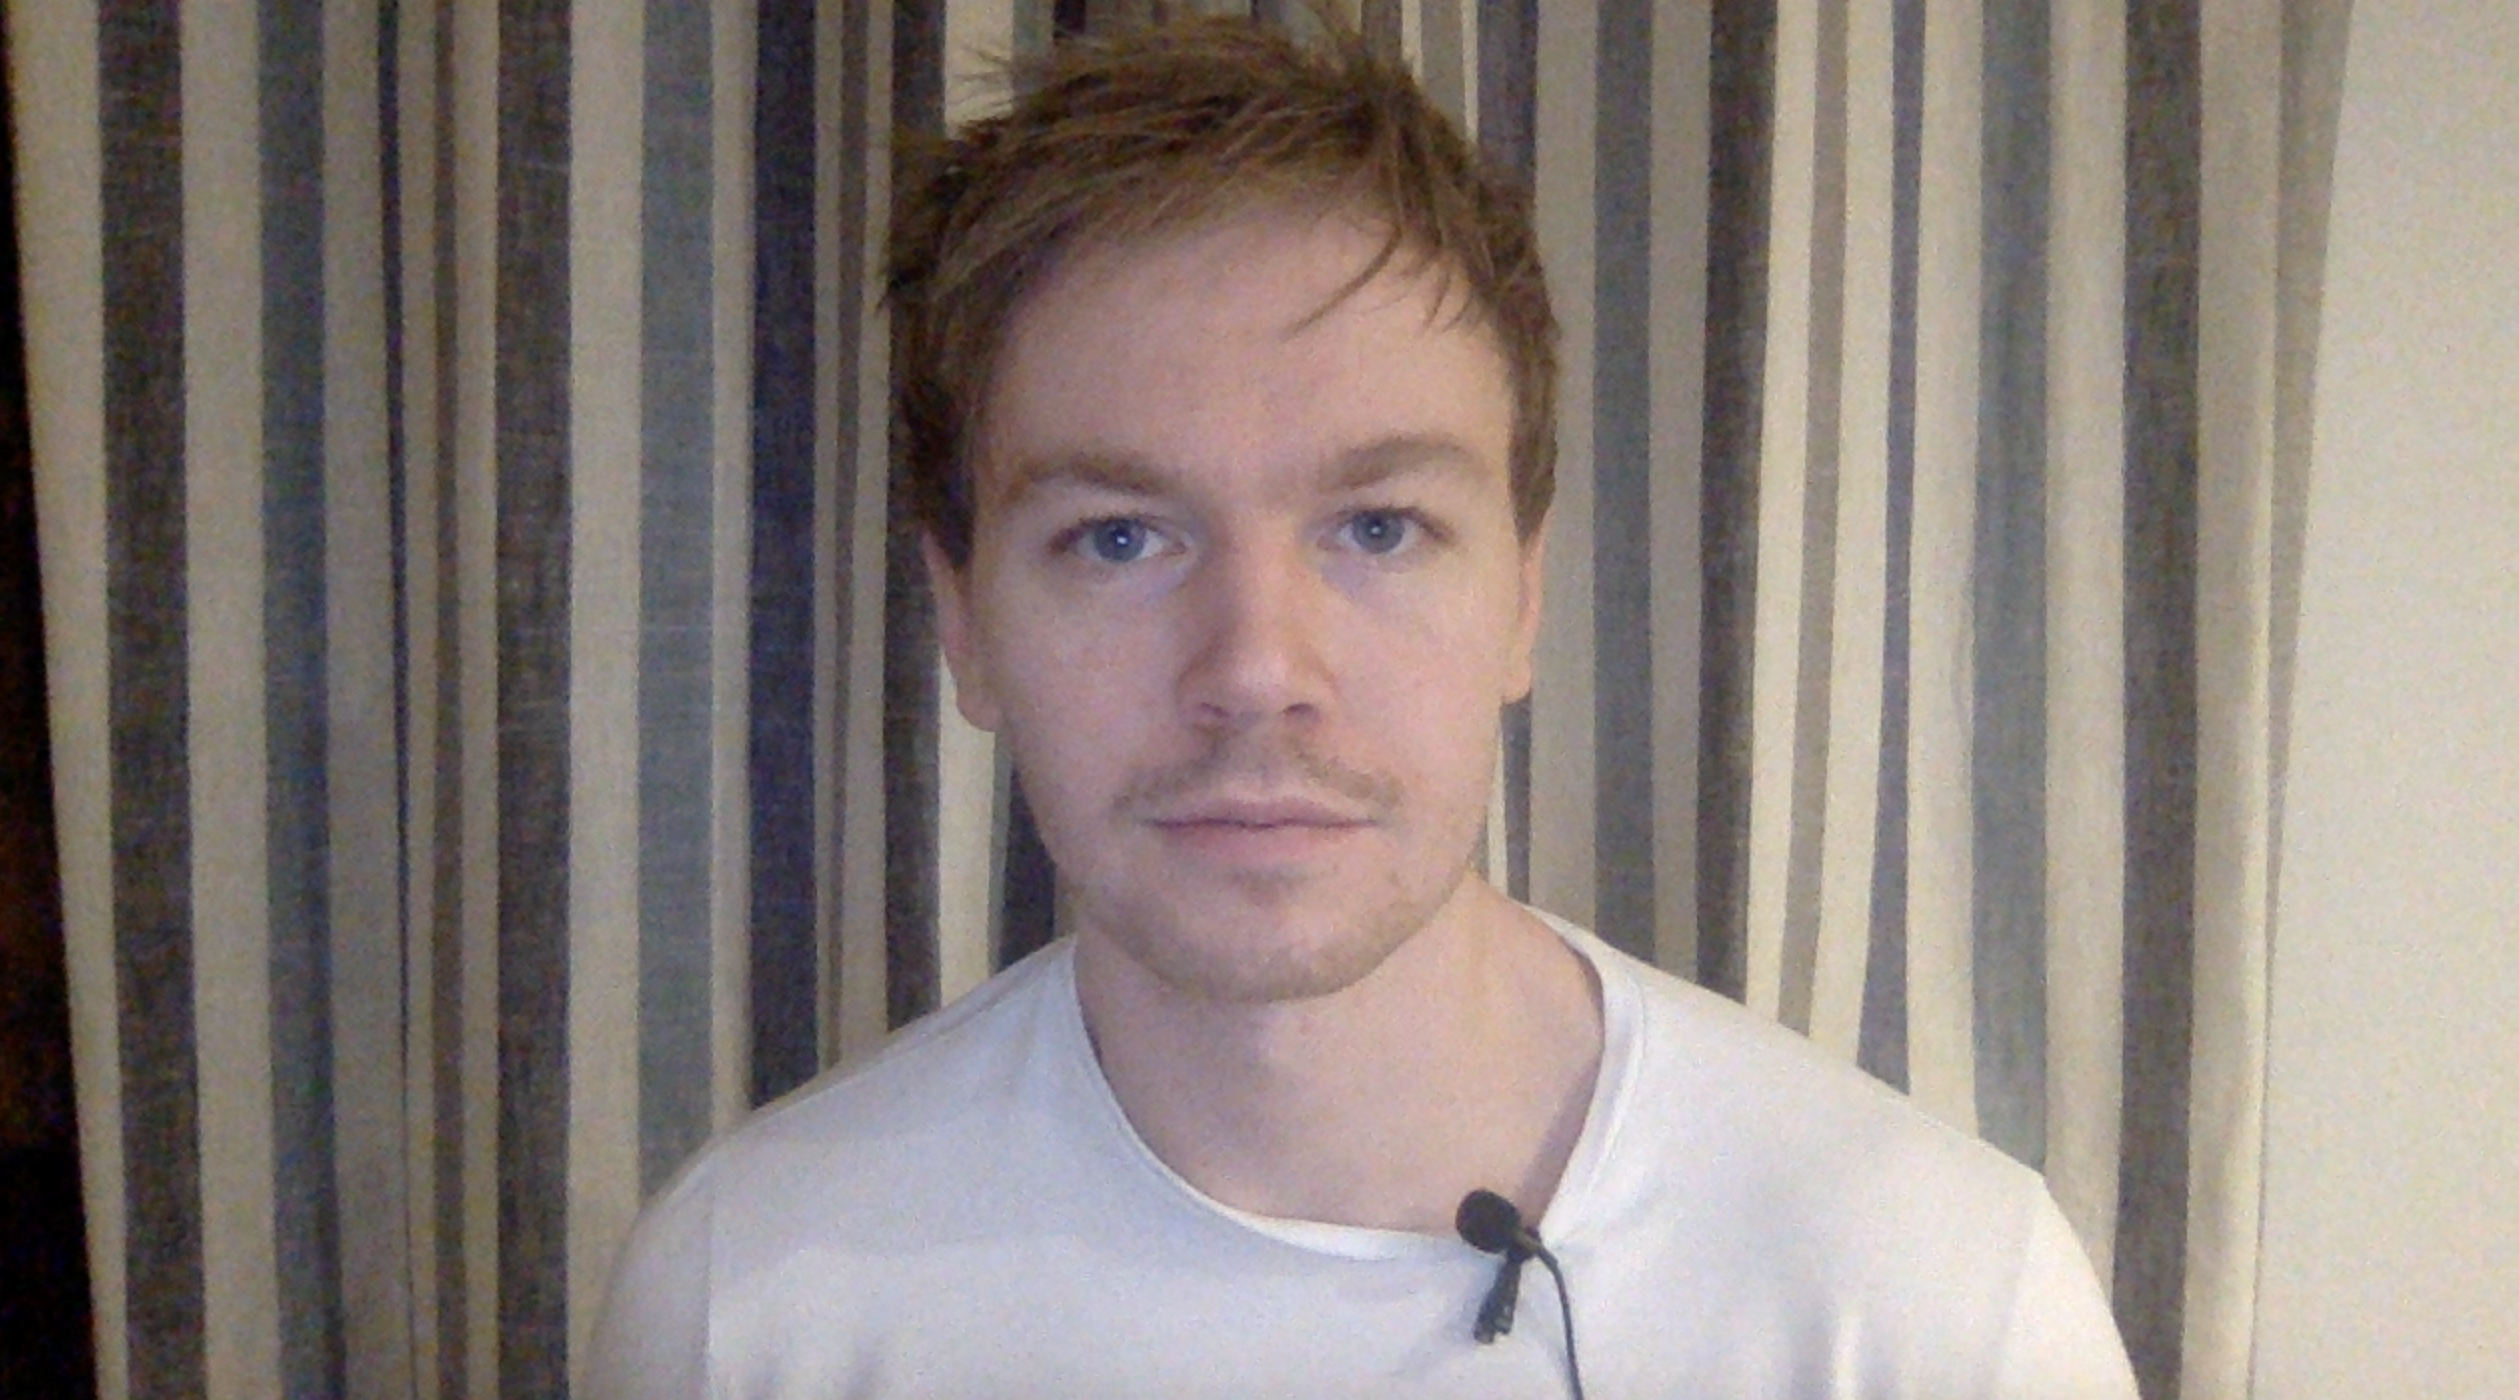
lol creepy af…
I sat down at 8pm in my kitchen, had a couple of glasses of red wine, and basically read out my “lessons” which I had written down before hand.
I showed this to several people and they all said the same thing…
“You can’t put that out.”
I looked drunk and tired.
It was sloppy.
But it broke the back of the thing for me.
I got the vast majority of my nerves out on video that didn’t matter and wasn’t going to get used.
So I filmed again.
This time I bought a high quality camera.
I bought a high quality microphone.
I bought a tripod and editing software and I tried harder to go “off-script”.
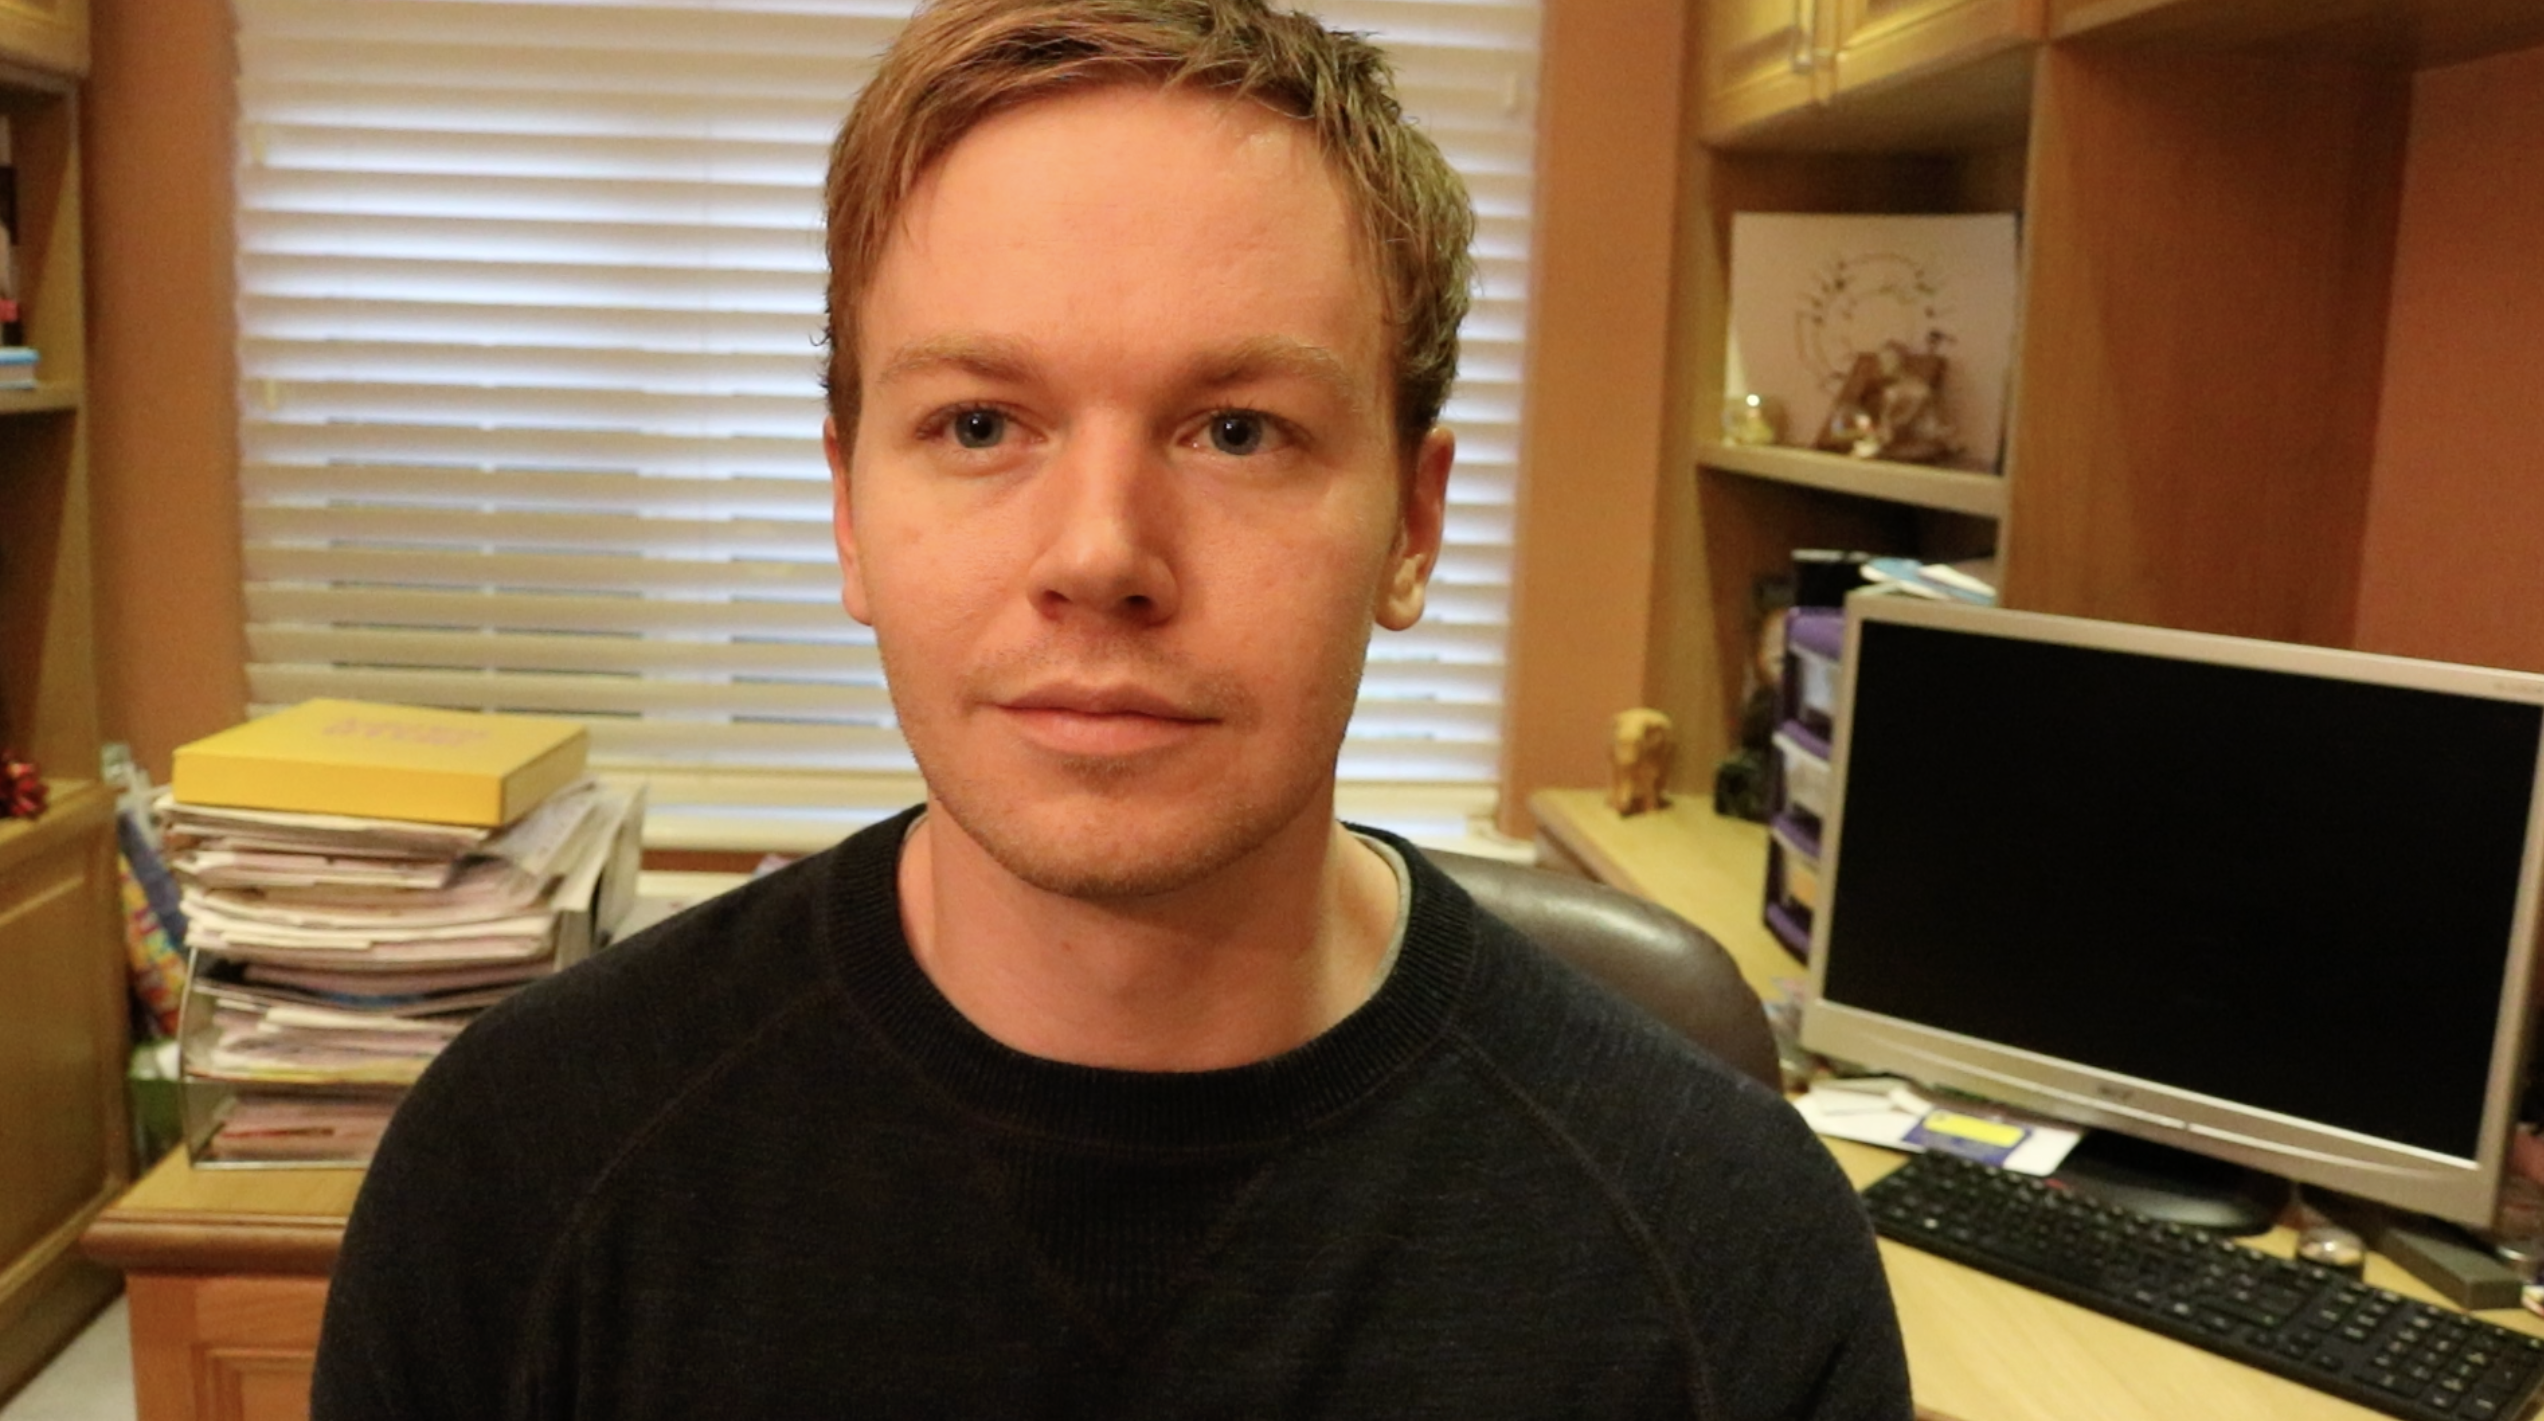
Take 2.
I also filmed in different locations, trying to make the course seem bigger than it actually was.
This version was much better.
But I filmed it at a very stressful time in my life and it showed.
The feedback I got was that I was low-energy and needed to smile more.
I looked grumpy and unhappy.
I didn’t think I’d actually have to film it again, but I did and I’m so glad I did.
I took some time to myself to decompress.
I then flew off to Vienna by myself, got a nice apartment near the palace (my favourite area) and knuckled down.
I didn’t do that just for the course. I was going anyway. But something about doing the course the day after landing made me feel so fresh. I felt like I could really concentrate.
I got myself in a super good mood. By this point I knew everything I needed to say and completely ditched the script.
I just spoke as if I was sitting across from a person who needed to learn. I found a good lighting spot. And I blocked out an entire afternoon to film the course in the same location, wearing the same clothes.
The days that followed I spent editing it in cafes and trying to get it tightened up.
This final product was one I was proud of.
Is it still amateur?
In a sense, yes.
But compared to my first two attempts, it blows them out of the water.
And compared to a lot of other first time instructors I’ve seen, it’s leagues better.
No, it’s not as good as the big dogs that have been in the game for years. But it’s something I’m happy to have out in the world.
Step 4: What equipment do you need to film an online course?
Here’s where I stand on this:
Get the best equipment you possibly can.
You’ll here a lot of people, big names like Tim Ferriss and Lewis Howes, saying that equipment doesn’t matter when you’re starting off.
I agree with that too (ain’t I just full of contradictions).
Your message and delivery is the most important thing.
People will forgive lacklustre film and sound quality if the message is super engaging.
However, I’m also aware from my own experience that even a fantastic message can be ignored if the production value sucks.
There’s so much competing shit out there and a lot of it looks fantastic.
You’re competing with other great content that also looks superb.
So don’t just use the webcam on your computer because someone said it’s okay when you’re starting out.
Use your webcam and built-in mic only if you literally cannot afford anything better.
If you have the money to upgrade, do so.
Because you can make huge improvements with very little cost.
If you have a hundred bucks, you can buy a microphone like the Blue Yeti which will vastly improve your audio quality – this will make a huge difference.
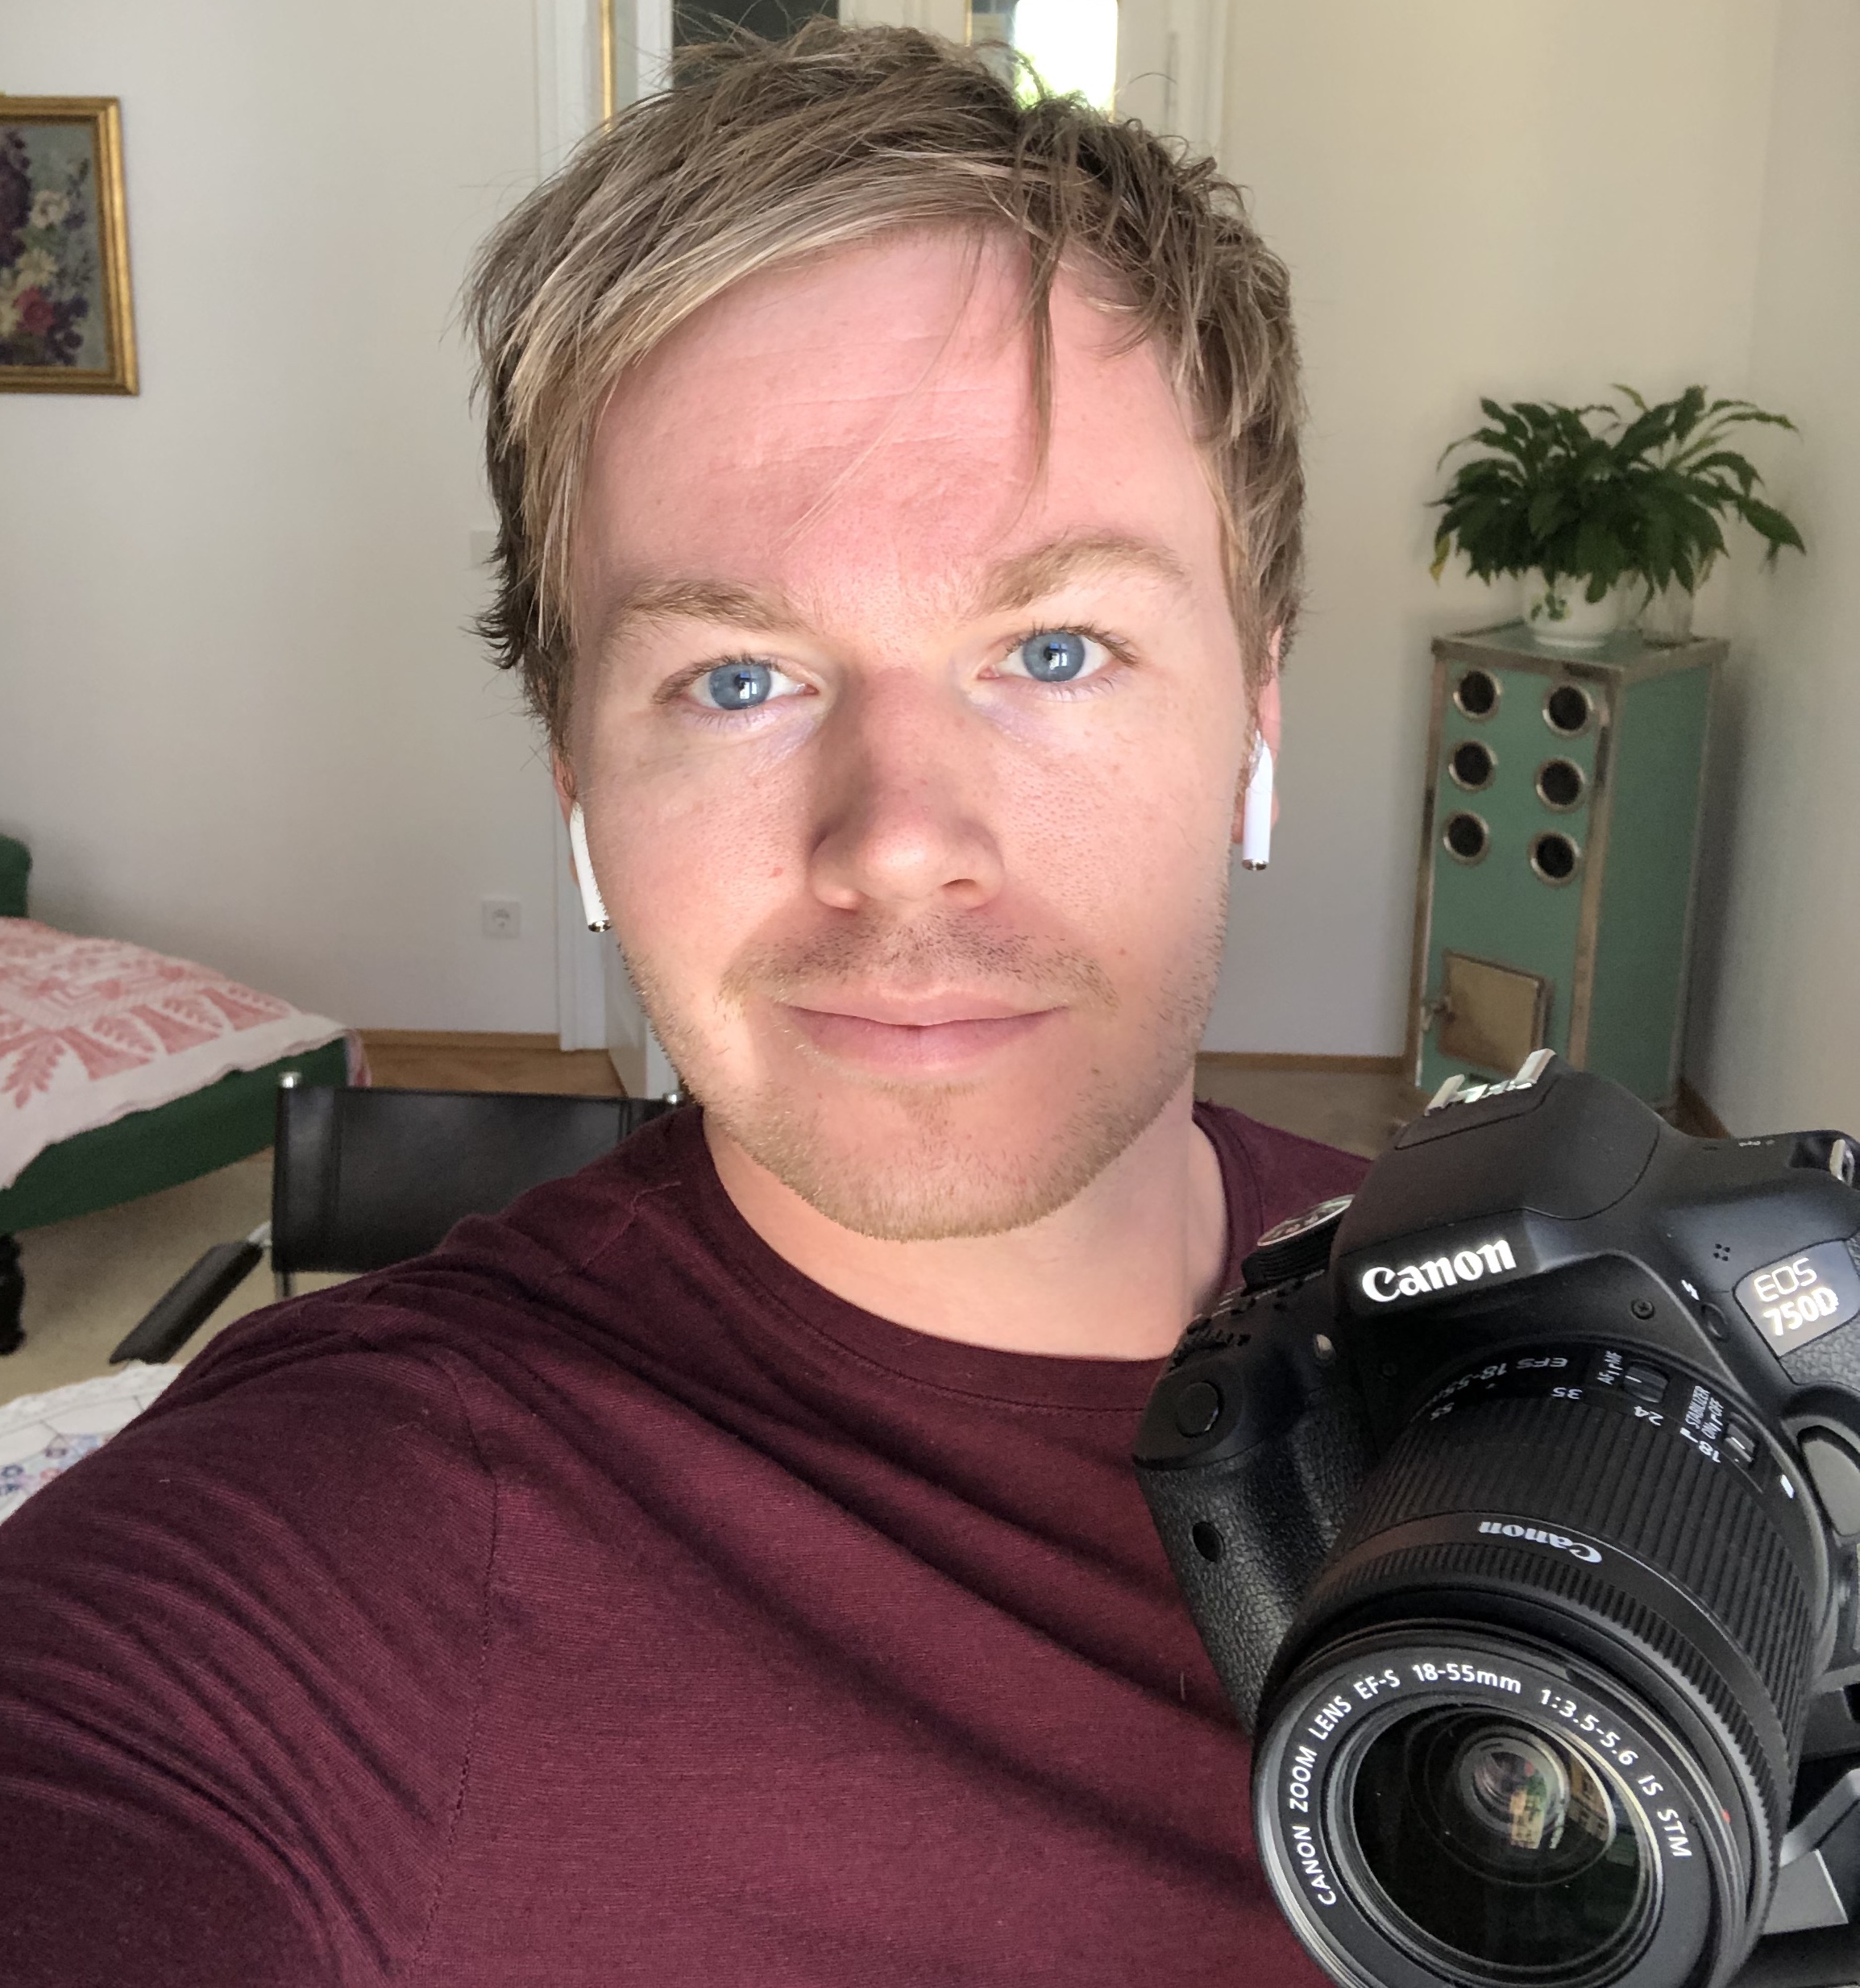
Me with my Canon on filming day.
You could spend more, but what I’m saying is you don’t need to.
Your budget doesn’t have to be huge.
When it comes to cameras, don’t go for the latest models.
The latest Canon will be three times the price of the Canon from four years ago and you don’t need the few extra features that don’t add anything.
Equipment I used to film my online course:
- Canon EOS 750D Digital SLR Camera
- Rode VideoMicro Compact On-Camera Microphone
- Velbon Videomate Video Tripod
- Adobe premiere pro editing software
- SanDisk 128GB Memory Card
An argument for having great equipment:
Great equipment will give you a confidence boost.
If you’re already feeling nervous about teaching and putting yourself on camera for the world to see, having a decent camera and mic will make you feel way less nervous.
Simply because you’ll look and sound good!
It’s one less thing to worry about. That’s taken care of. All you have to worry about is making the syllabus as good as possible.
Step 5: How to craft a great syllabus for an online course
I recommend you find people who are in your niche and learn the averages for these things:
- Average module length
- Average class length
- Average module number
This helped guide me.
My course ended up being 2 hours long (a little longer than average).
Each module was anywhere from 10-30 minutes (10 is the average, 30 is a bit over).
And I had 10 modules along with a trailer (pretty typical).
Write down everything you want to teach in the course (broken into big ideas) and then you’ll reorder and structure them.
Here was my thinking when I was putting together the syllabus for my online course:
Okay, so I definitely want to teach people how to write a killer intro and conclusion. So obviously we’ll have to learn how to write the bits in the middle too, the main paragraphs. Definitely need to teach people how to edit. Oh, and it’s important to teach brainstorming. A lot of people literally have no idea where to start so we should start there.
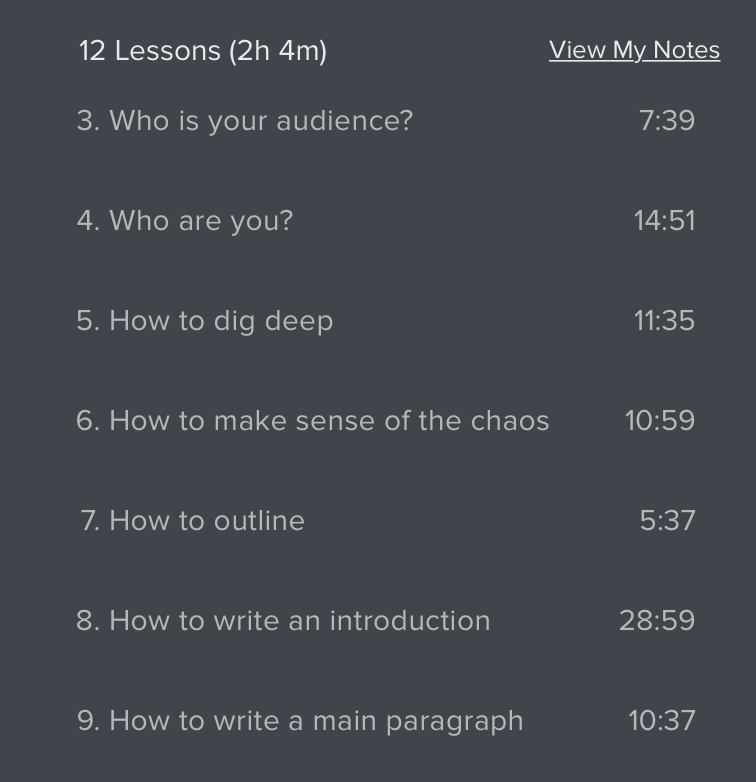 This kind of thinking helped me break my course into modules.
One of the many reasons I recommend Skillshare for people doing their first online course is because you get so many resources to help you along your way.
You’ll get a class template that you can fill in.
You can even pester the people working there who are super responsive and will help you with any question you have (I have endless thanks for Marla at Skillshare, who really helped me through the process).
Skillshare have this lesson template outline you can download here.
- Begin with the title.
- Then write about “What you will learn in this course”.
- Come up with a class project (what do you want your students to achieve by the end of the course?).
- Then write down who the class is geared towards.
Write all of this down.
It’s like your mission statement, your manifesto, for the course and will guide you.
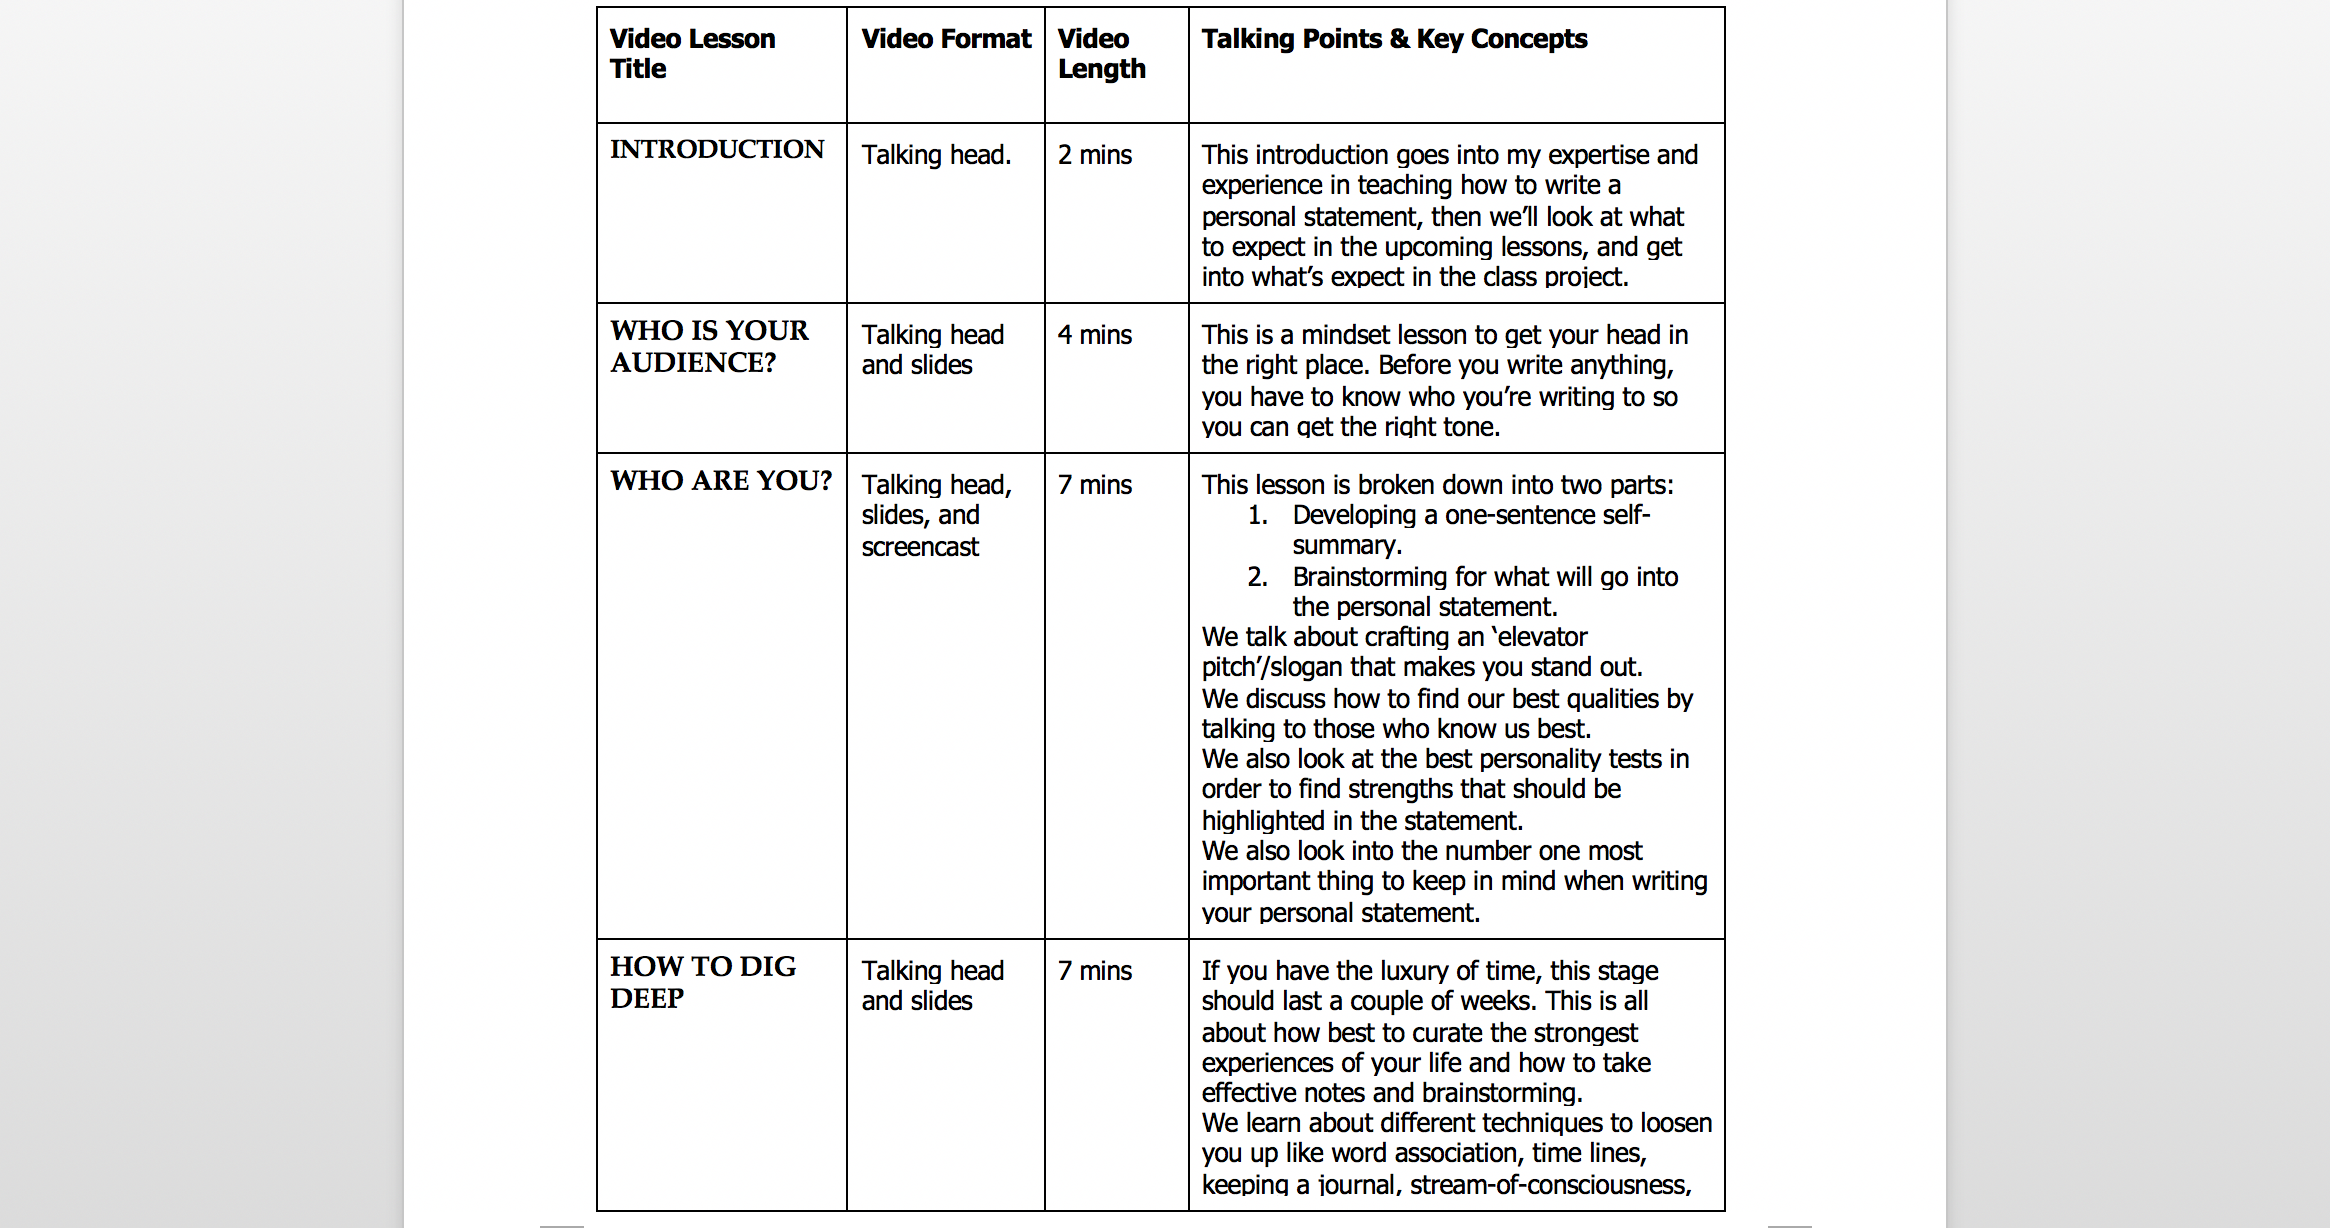
After that, draw up a table (either on the computer and using Skillshare’s template) or by hand, with columns entitled:
- Video lesson title
- Video format
- Video length
- Talking points and key concepts
Here’s what my outline looked like for the personal statement writing course.
You’ll need to think about what each of your modules will look like.
- Will it be a talking head where it’s just you talking straight into the camera?
- Will it be a slideshow where you film your screen and show a PowerPoint presentation?
- Will it be a combination of both?
Personally I’d recommend showing your face consistently and for the majority of the course, no matter what you teach, because we connect to those who we can see.
The topic will dictate how the course looks too.
If you’re teaching how to play the guitar, you’ll need full body shots if you’re teaching posture. You’ll need a close up of the fretboard so people can see where your fingers are. You’ll need to show tablature on the screen.
Think about all of this and plan it ahead of time.
Don’t just wing it – outlining will make everything much easier and when it comes to filming you just have to show up and bring the energy and wisdom.
How to get into the mood for filming your online course (some tips)
When it comes to filming, I’m just gonna give you a quick run down of things that will help to keep in mind.
Lighting tip:
Find a source of lighting that is consistent and makes your face look clear (I prefer natural but you can get some cheap lamps and umbrellas that work really well – I like these ones).
You can find the best lighting by spinning around 360 degrees with the camera facing you – you’ll find the best spot super quickly.
Looking into the camera:
Don’t look at the viewfinder!
In fact, once you’re happy with your set-up and position and you’re framed nicely in the shot, I’d recommend turning that viewfinder around so you’re not just looking at yourself the whole time.
I hate it when instructors are clearly just continuously checking themselves out while teaching.
It’s creepy and narcissistic.
Look into the camera lens.
That will make the student/viewer feel like you’re looking them in the eye.
We connect better with people who make strong eye-contact. This holds true even when talking to a camera.
How to get over nerves:
It’s nerve-wracking looking into that camera for the first time.
You can get over it quickly, but you’ll probably feel super self-conscious the first time you sit in front of the camera.
You can get over nerves by first getting into your body, getting into the present moment, and becoming conscious of what you’re doing.
Do some deep Wim Hof breathing.
Then narrate what you’re doing as you’re looking at the camera. Vocalise what you’re feeling in your body – “I’m feeling a little nervous, which feels like tingling in my arms because staring into a camera and speaking feels unnatural. I feel a bit stupid and self-conscious about how I look.”
Talk yourself through it. Keep talking until you lead into your subject.
“I feel odd but let’s just get this thing rolling. I’m going to introduce now and say welcome to this video course on XYZ, my name is Mr X and today we’re going to learn how to do X.”
Imagine that you’re talking to an actual person sitting in front of you.
James Patterson’s advice is to do this in such a way that they won’t get up from the table until you’re finished talking.
Talk as naturally as possible and don’t worry about ums, ahs, and long pauses.
Tons of jump-cuts and blatant edits aren’t great but it’s also not the worst thing in the world if you have a few cuts where you’ve edited them out later.
Look at all the big popular YouTubers and you’ll see they all do this.
So viewers are used to this and if your cuts aren’t super jarring most people won’t even notice them.
So give yourself some room to relax.
Don’t focus on being entertaining or charming or witty.
If those things happen naturally, fantastic!
But you can psyche yourself out by trying to be a thousand things at once – plus your inner judge will get in the way.
Just focus on teaching the material.
You don’t need to be anything else except a teacher!
You’re not a model or an actor or a comedian.
You’re a teacher and you know your material and want your audience to learn it well.
Let that mindset guide you.
That’s how you get started creating your own online course.
I wish you all the best luck with your course.
If you have any specific questions not addressed here, put them down below and I’ll be happy to answer them.
